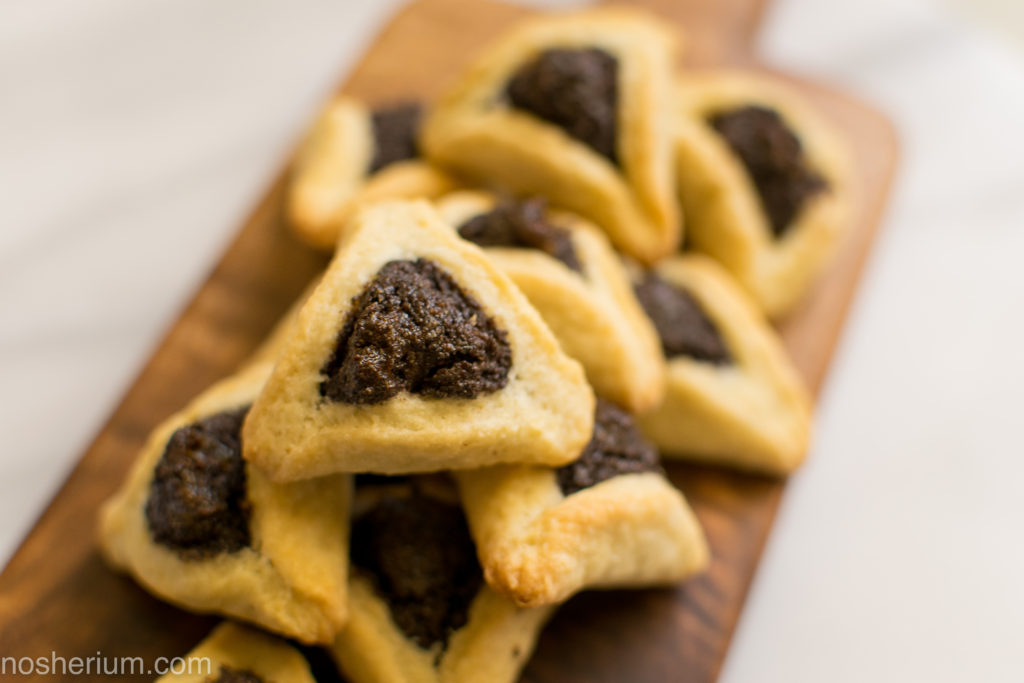
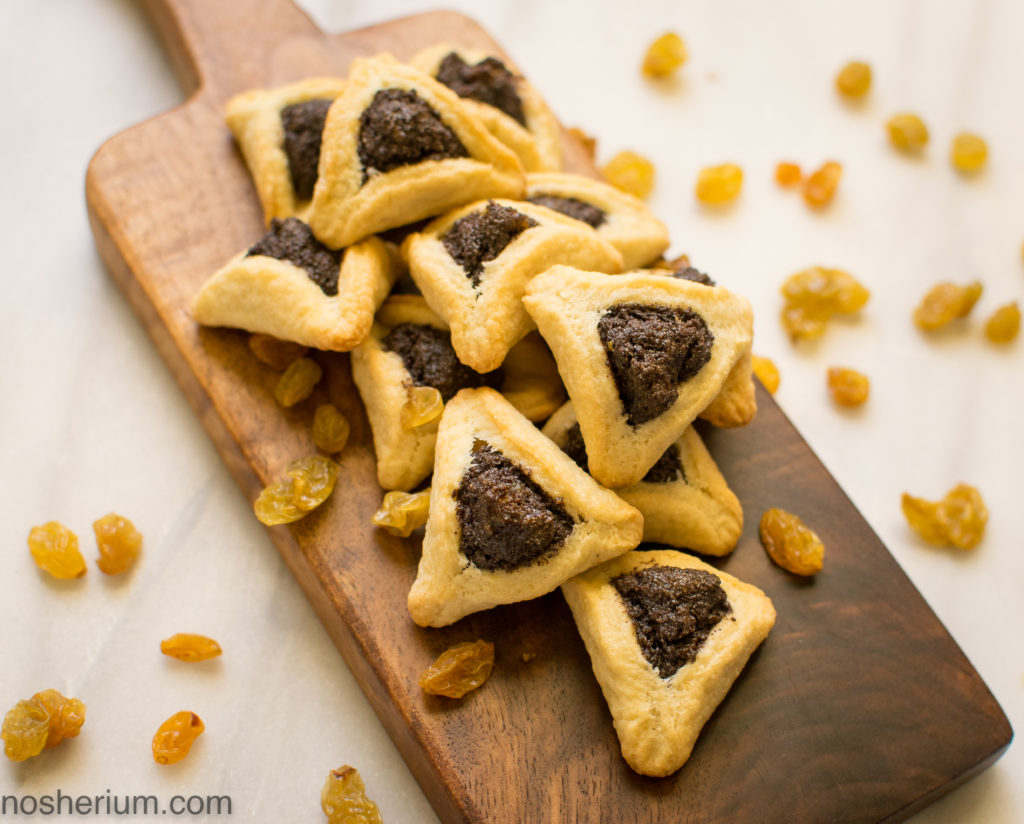
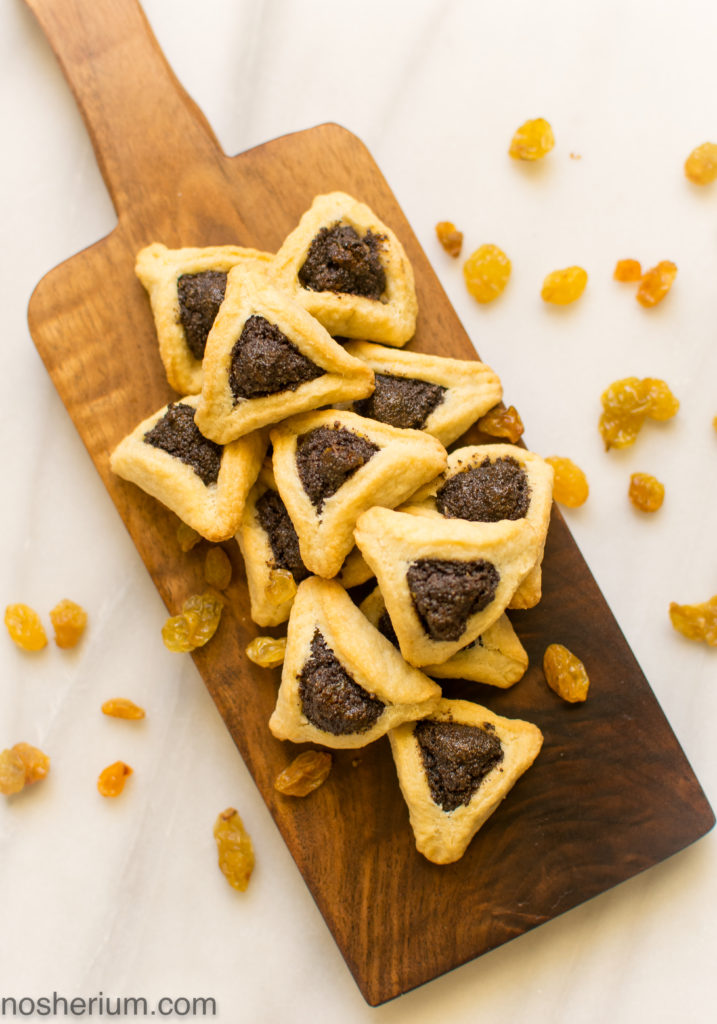
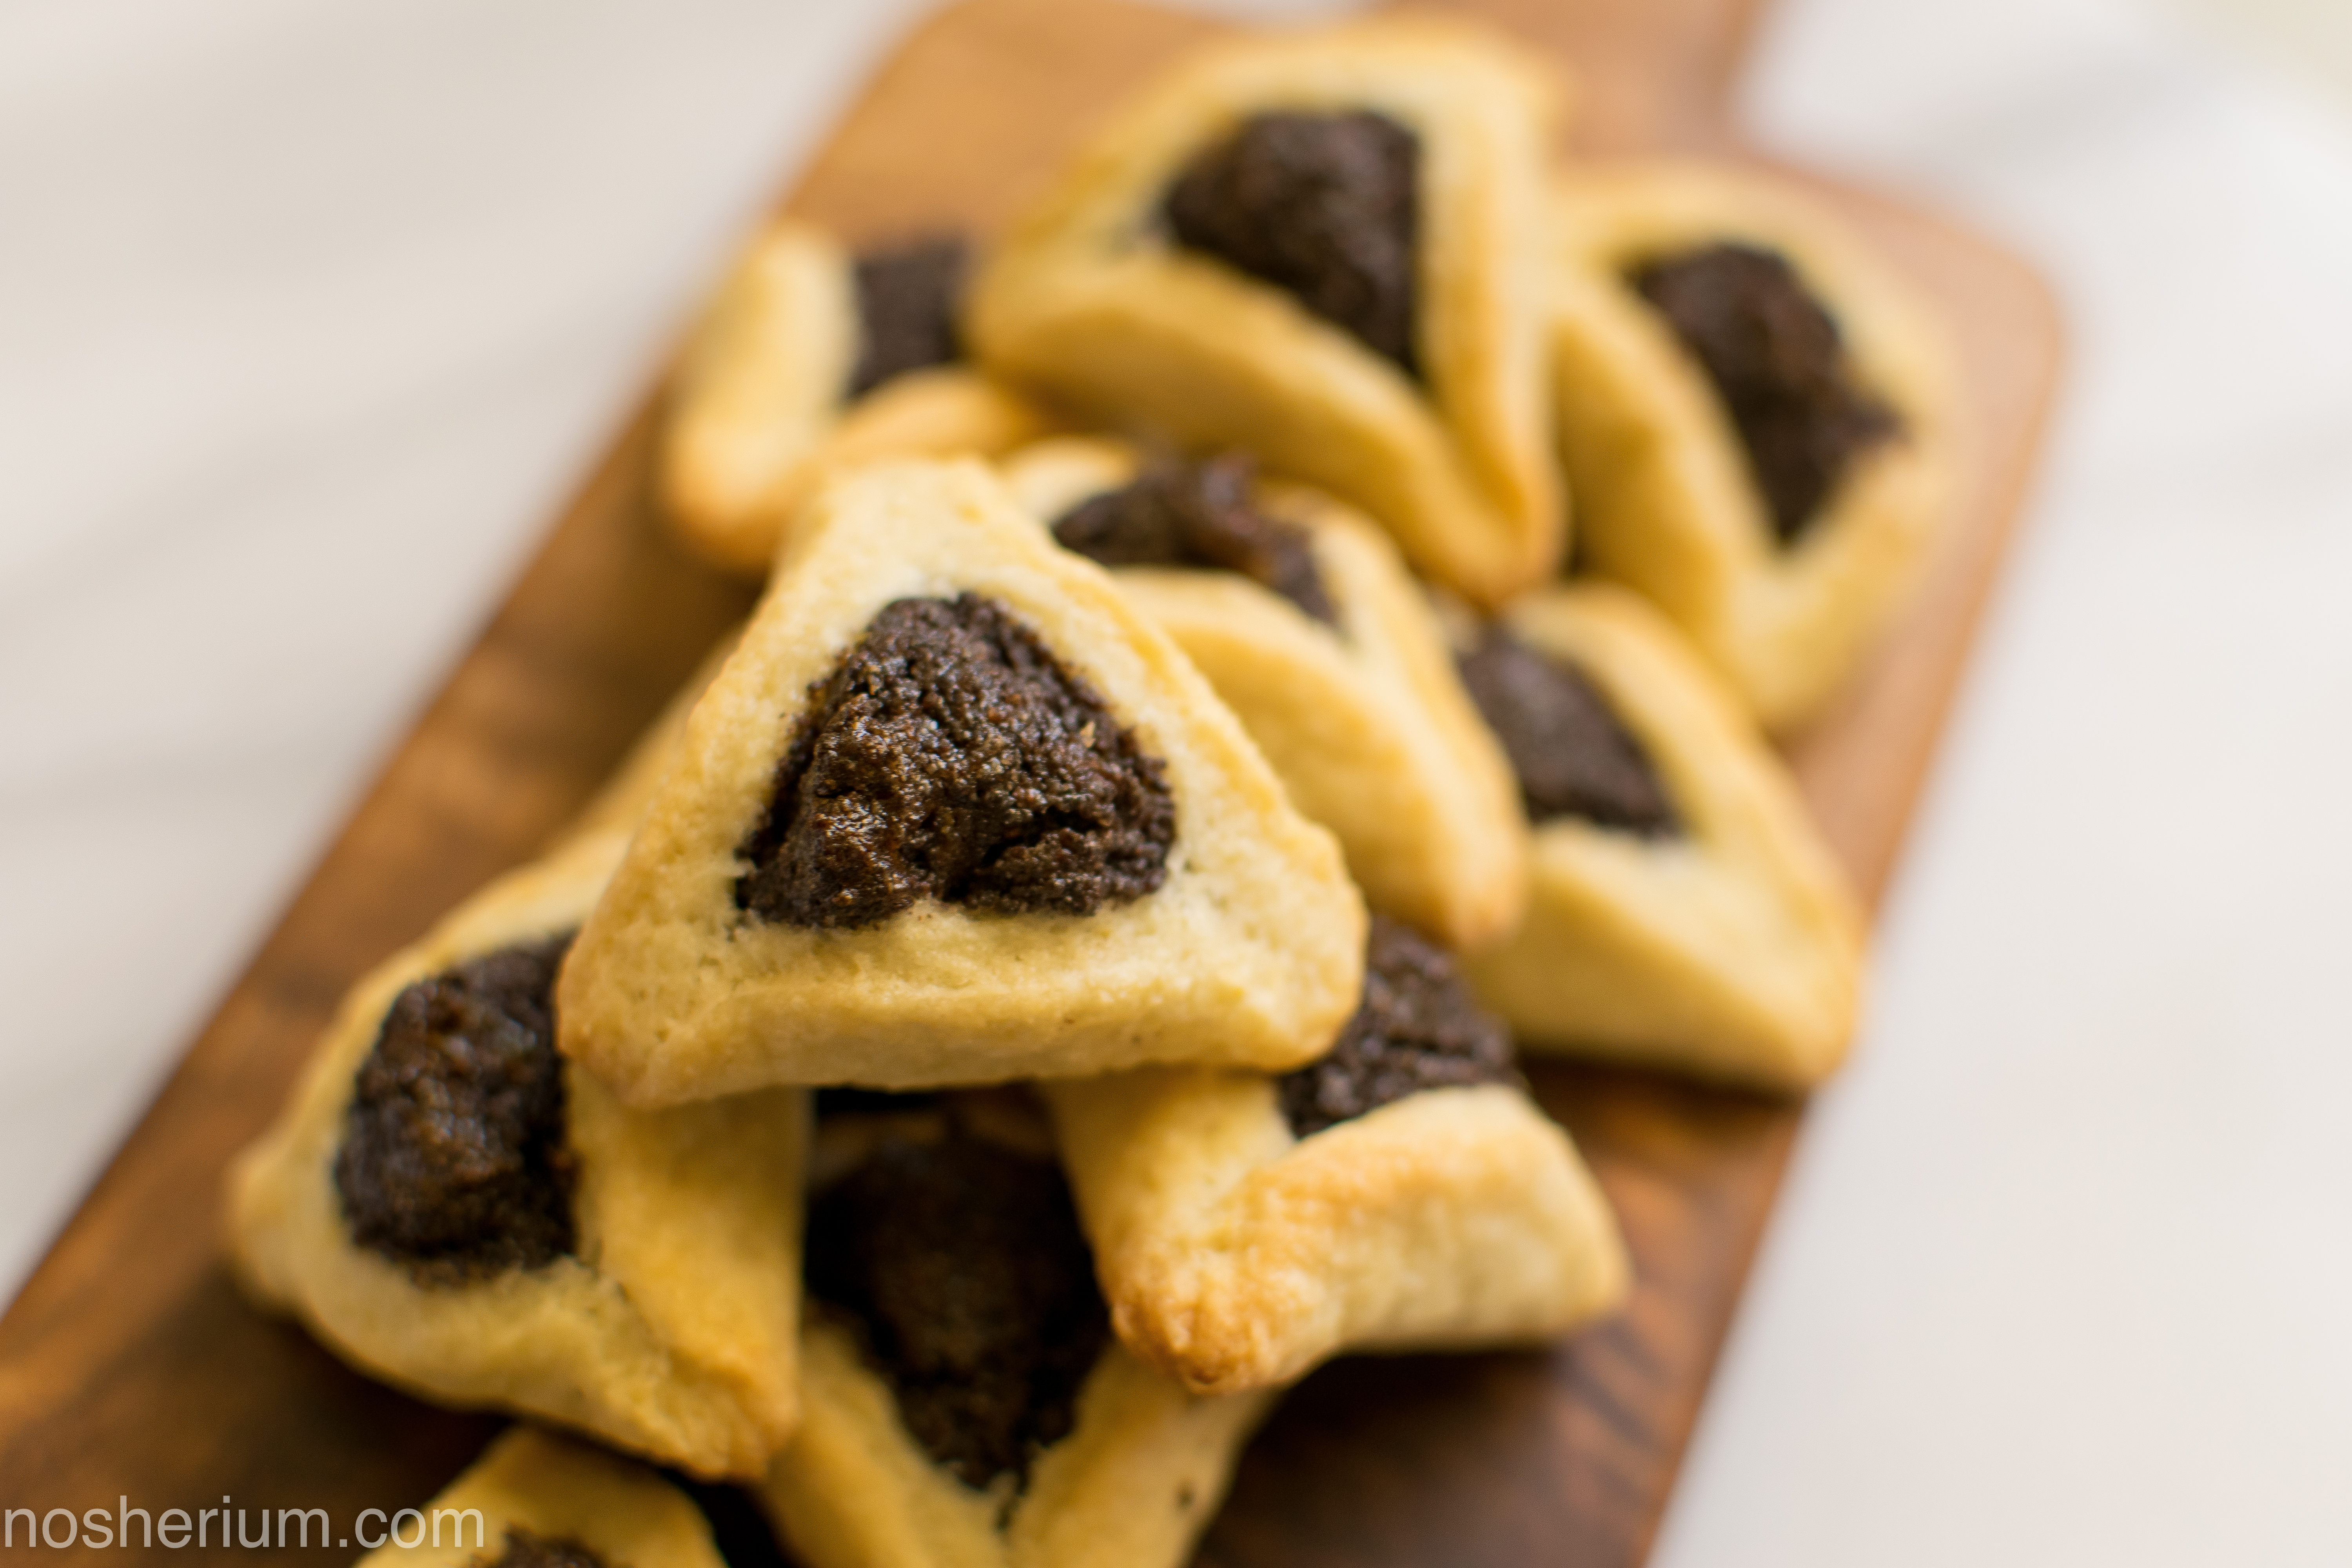
Last week I brought you the recipe for damn perfect vegan hamantaschen – simple, sweet, and majorly flavorful, and I promised to share the butter version. Here they are in all their buttery, flaky, tender glory!
A little butter backstory for you: when I was growing up, my mother baked almost exclusively with margarine. This was a vestige of Israeli recipes and baking styles, margarine has ruled the baking roost in Israel for as long as anyone can remember. The reasons are simple – kosher law and scarcity. In America, most margarine contains dairy in an effort to mimic the flavor of butter. Of course, there are dairy-free brands, my beloved EarthBalance for example, but Israeli margarine is always dairy-free for kosher reasons. A non-dairy recipe will have far greater range of usability for the kosher baker – you can eat it with a dairy meal or a meat meal!
The second reason is scarcity. In the early years of Israel’s statehood, butter and many other commodities were rationed by the government. Most recipes were developed using what was available to the average consumer – margarine, low-fat milk, yogurts, and fresh cheeses. My mother still bakes recipes from the famous brown baking book that reflects the tastes and ingredients of those years.
So when I started baking on my own, I did the same as my mother – dairy-free margarine! This lasted until Passover of 2008, the year of the great Passover margarine shortage. Unable to find a box for less that $12, I leapt head first into baking with butter, rarely to return. The following year, I baked my first batch of butter hamantaschen and delighted in their flaky, tender texture and rich flavor. I found that my mother’s recipe needed to be tweaked a little to accommodate butter’s qualities – margarine can be mixed into the rest of the ingredients cold, but if you do that with butter, the finished look will be flaky but craggy.
The choice is between appearance and texture, but either way, on flavor you won’t miss out. And so, dear reader, you have to chart your own path here – do you want picture-perfect smoothness or a gloriously flaky texture? The recipe below gives you both options, choose and enjoy!
Chag sameach!
More Purim goodness:
Ingredients
Dough
- 2 1/2 cups/313 grams flour
- 1/2 cup/100 grams sugar
- 1 large egg
- 1/4 cup/60 milliliters brandy or orange juice
- 1 tablespoon/15 milliliters vanilla extract
- approx. 1 tablespoon/15 milliliters grated orange zest (from one orange)
- pinch of salt
- 7 ounces/14 tablespoon/200 grams butter, either cold, cut into chunks for flaky texture or softened for smooth texture
Poppy Seed Filling - Pereg
- 1/2 cup/120 milliliters sugar
- 1/4 cup/60 milliliters water
- 1 tablespoon/15 milliliters honey
- 1 cup/125 grams poppy seeds, ground (measure first, then grind in several batches in a clean coffee grinder until powdery)
- 2 tablespoons/30 milliliters lemon juice
- approx. 1 teaspoon/5 milliliters lemon zest (from one lemon)
- 1/4 cup/40 grams raisins
Instructions
Dough
- Combine all ingredients (butter: either cold, cut into chunks for flaky texture or softened for smooth texture) in a food processor outfitted with a blade. Pulse to combine, then process until completely combined and homogeneous, until the dough forms a ball.
- Transfer to a plastic bag, or wrap in plastic wrap, and place in the fridge for at least half an hour, up to several days.
- For longer storage, freeze, completely sealed and wrapped, for up to two months. Defrost in the fridge.
Poppy Seed Filling - Pereg
- In a small saucepan (2 quart/liter) over medium-low heat, combine sugar, water, and honey. Cook until sugar is completely dissolved and the liquid is simmering
- Add the ground poppy seed and cook a minute longer, stirring. Remove from heat.
- Stir in lemon juice, zest, and raisins.
- Transfer to a wide mouth container (you'll be scooping the filling directly from the container), and chill in the fridge, at least half an hour, up to a week.
- For longer storage, freeze the filling, up to two months. Defrost in the fridge.
Assembly
- Removed a quarter of the dough from the fridge at a time. Roll out on a floured surface until 1/8 inch thick.
- Cut out circles using a circular cookie cutter or wine glass, 2 1/5 inches in diameter. Transfer the rounds to a parchment paper-lined baking sheet.
- Reroll the dough scraps and cut more circles.
- Brush the tops of the rounds with water using a pastry brush, about 12 at a time.
- Using two spoons, drop a small amount of filling on the center of each round. DO NOT OVERFILL.
- Shape the cookies by pinching the dough together, making one corner of the triangle at a time. Pinch and press the seams together well, or else they will open, making very tasty but very flat cookies. If the dough doesn't stick together well, brush more water around the edge of the round.
- Fill the parchment paper-lined tray with cookies. They don't grow, so you don't have to leave much room at all, approx 20 cookies/half sheet tray. Transfer the tray to the fridge until the cookies are firm and cool. You can freeze the cookies at this point - freezing them flat on the tray, then transferring them to a container or sealed bag.
Baking
- Preheat oven to 350°F/176°C.
- Bake the cookies for 10-14 minutes, until just barely golden, rotating the trays after five minutes.
- Transfer to a wire rack to cool completely.
- FEAST ON THEIR BUTTERINESS!


One Comment