Good gracious, we deserve some goodies! As our second shelter-in-place Passover draws near, I’m finding ways to make the holiday taste familiar even though the circumstances are so different. From cinnamon and almond waft from the kitchen, and parsley and horseradish await in the fridge. I hope you and yours are safe and comfortable, and take good care of each other. This year apart, next year together!
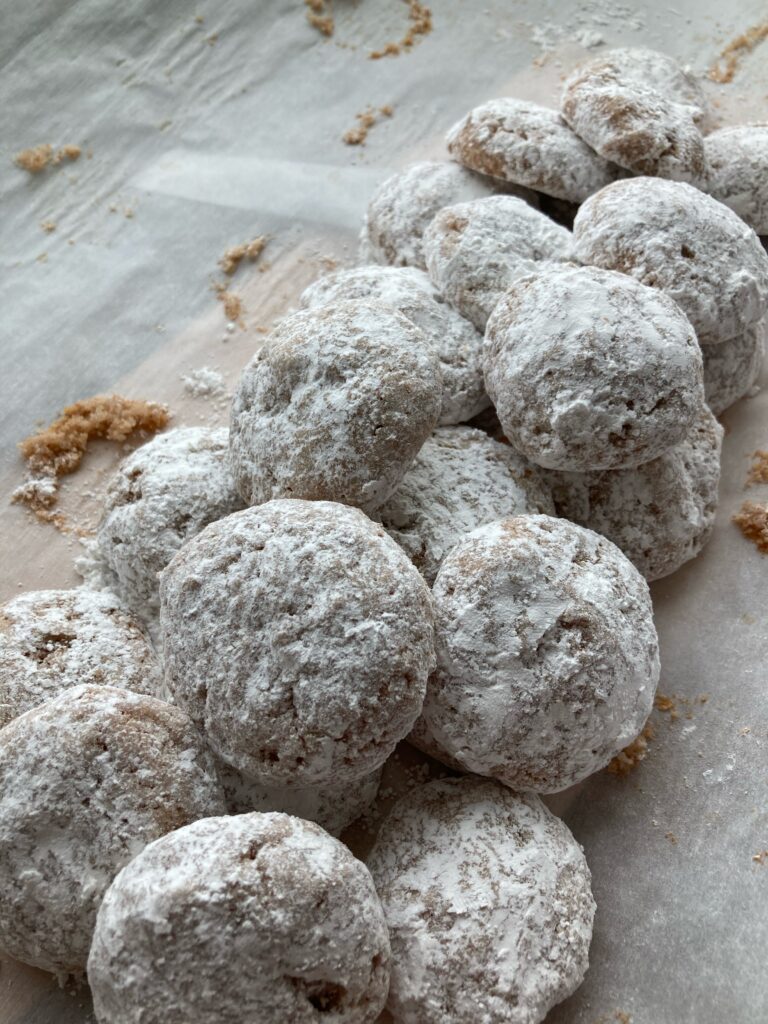
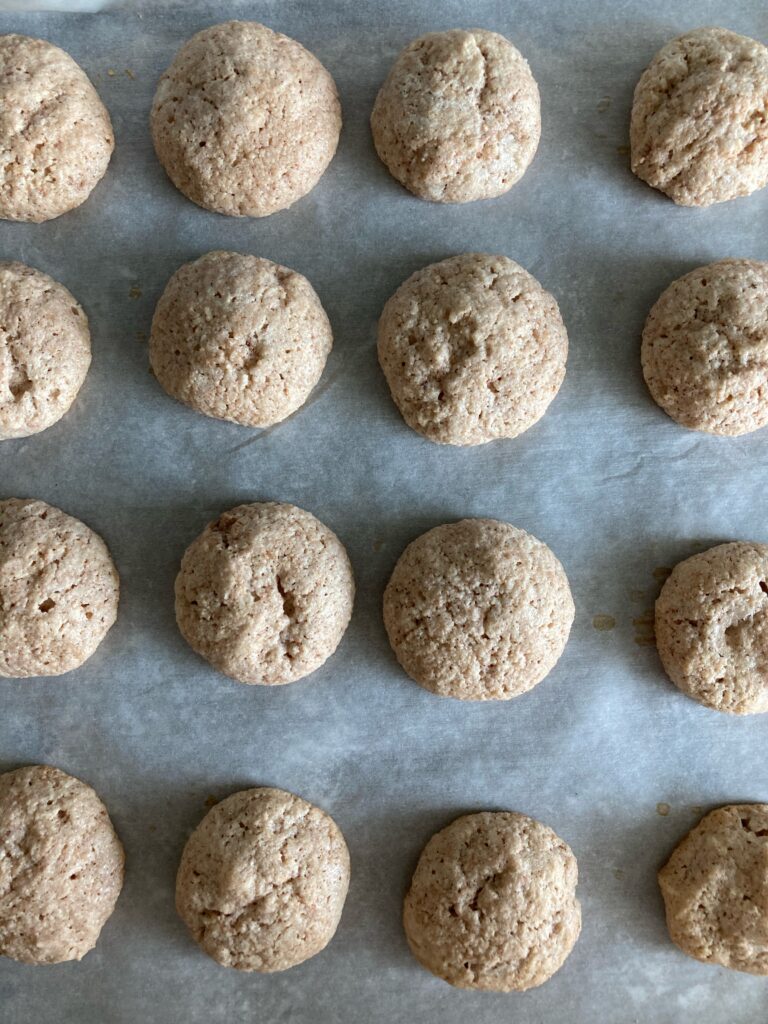
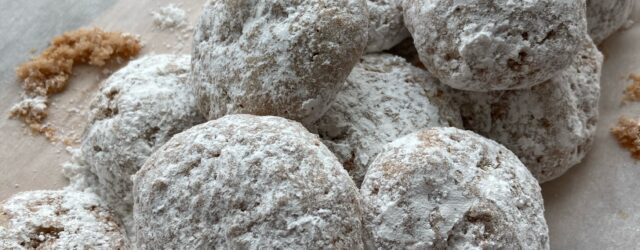
Passover cookies are one of the treats I look forward to each year, the flavors are so fixed in my memories and evoke such strong emotions. Cinnamon balls are the classic I grew up with, and this year I tweaked the preparation to keep as much of the egg white airiness as possible – these are more disk shaped and share a lot of characteristics with rustic macarons! I used a recipe from Evelyn Rose, the doyenne of British Jewish cooking. It’s posted on this blog, though I didn’t do the chocolate topping. I used a super fresh cinnamon from Oaktown Spice Co, my local spice shop.
Next up, I whipped up a batch of Hummingbird High’s Small Batch Almond Flour Gluten Free Brownies. So simple, so easy, no weird matzah meal or potato starch texture for these brownies! Check out the photo on Instagram (and follow us there for more regular updates!).
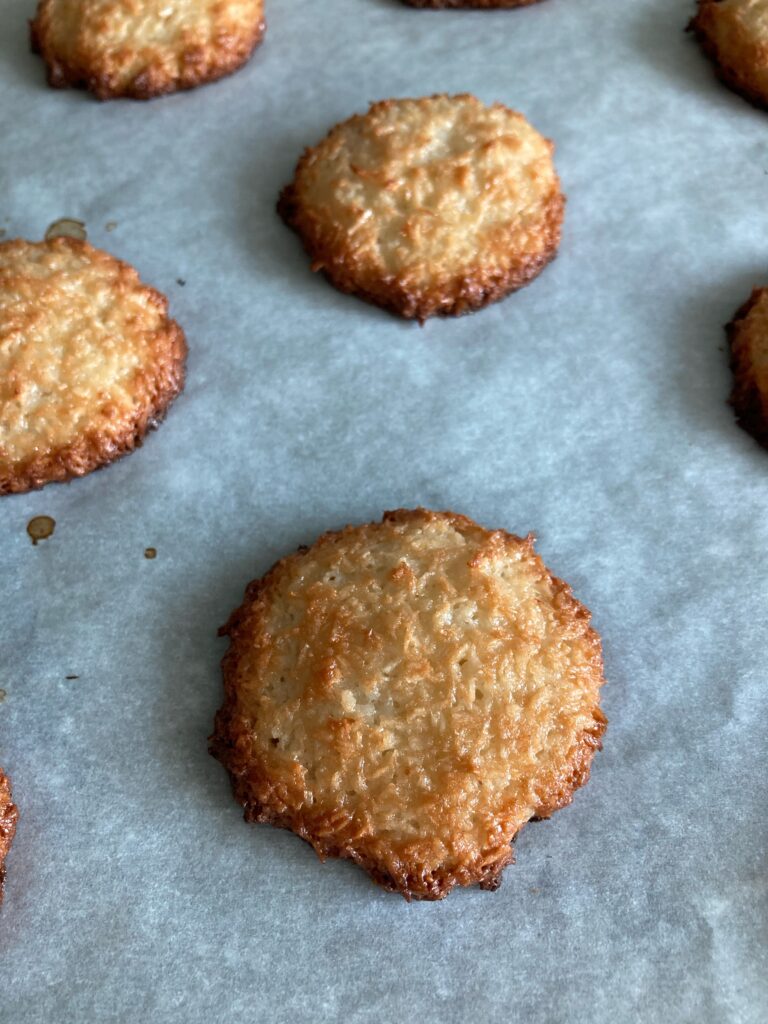
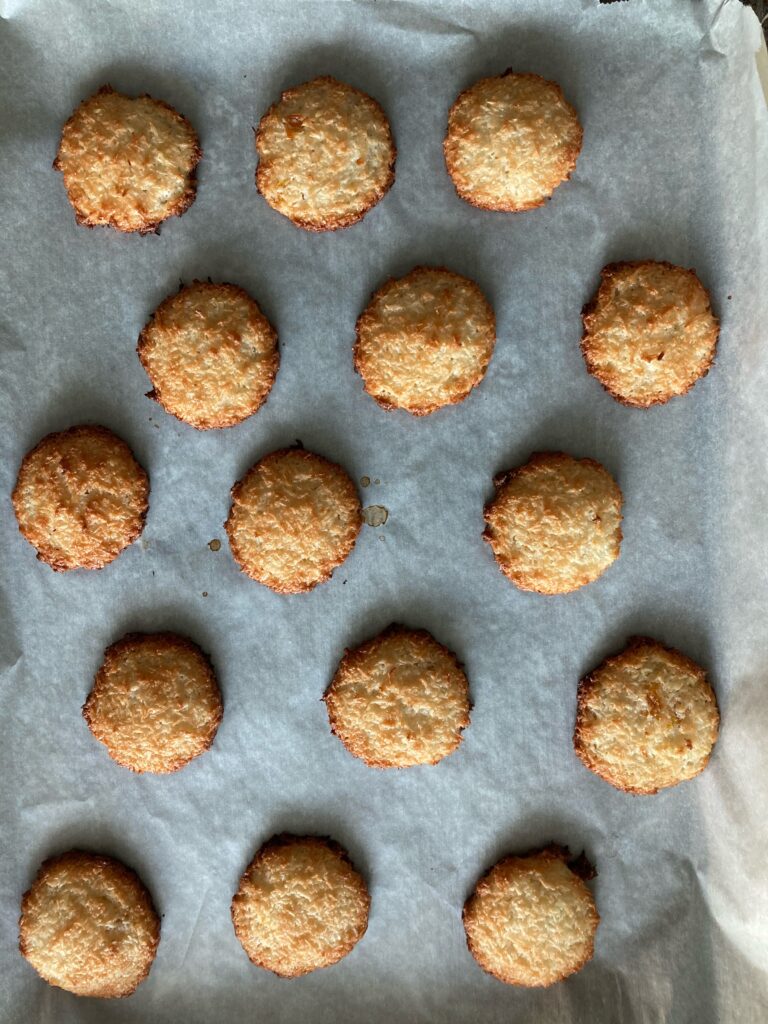
Toasty golden coconut macaroons are Passover magic – chewy and tender and rich! I used Uri Scheft’s recipe in Breaking Breads – just the simplest ingredients punched up with apricot jam. The instructions have you flatten the macaroons after scooping them onto the baking sheet, I did it with the bottom of a drinking glass dipped in water.
If I have a spare moment, I will whip up some of my Paleo Passover Granola, it’s so crunchy and satisfying with my homemade yogurt and berries for breakfast!
I couldn’t get enough of this piece about how Jewish immigrant women wrote the American activist playbook. So fascinating.
That podcast episode has a great segment about gefilte fish, which made me want to make my Elegant Springtime Gefilte Fish recipe again. Maybe I’ll get to it later in the week!
Not to sound like a total Jake Cohen obsessive, but his Passover cheeseboard is genius, I’m definitely going to make my own twist on it!
I’m loving all the inventive and creative ways we can celebrate Passover this year, the Jewish Emergent Network made video clips for each section of the seder, and there’s something for everyone there! Art, learning, inspiration, songs, and drag queens.
Bend the Arc Jewish Action has a virtual haggadah with a liberation theme, it connects the ancient story with the ongoing struggle for freedom around the world.
My family serves lamb for Passover every year, the aroma is a key part of the day of seder. This year I ordered catering from an excellent local caterer, but in the past, I have made this simple recipe with rosemary and garlic.
My Cheater’s Braise Chicken would be a stellar dish for seder or any festive meal! You can go super easy with the braising liquid – sometimes I just do wine or cider.
Wishing you a very happy Passover, happy springtime, happy vaccination season, happy Easter!
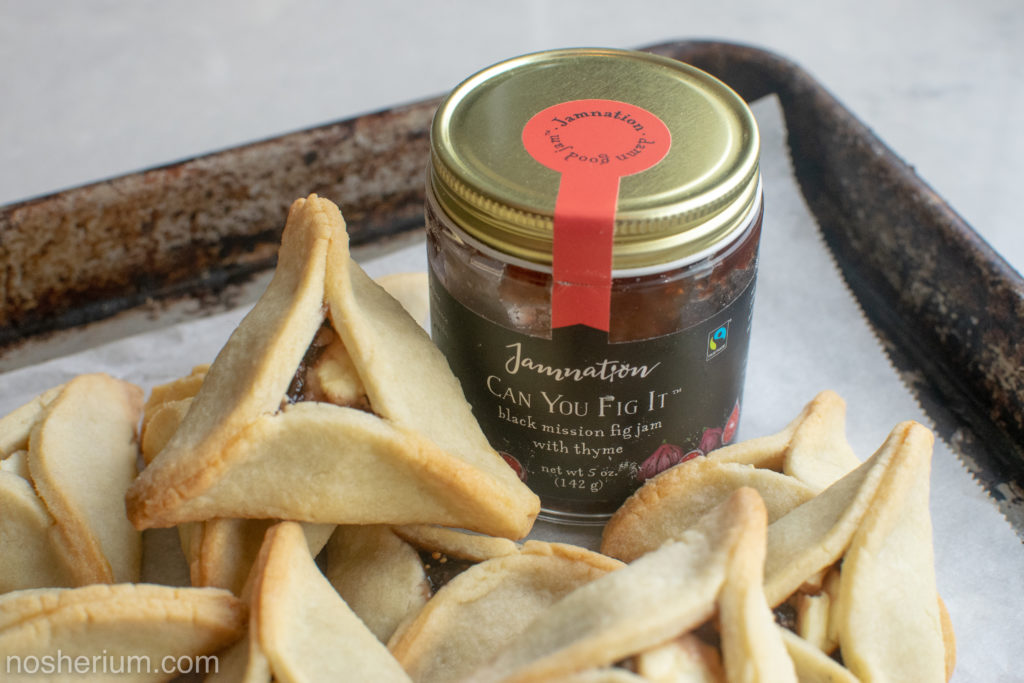
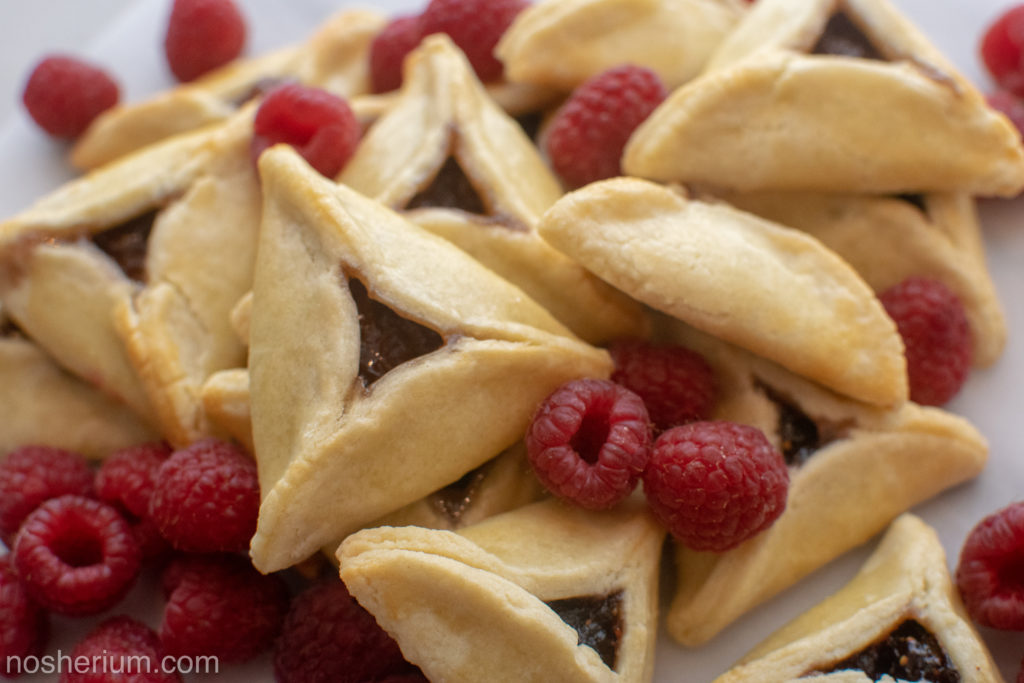
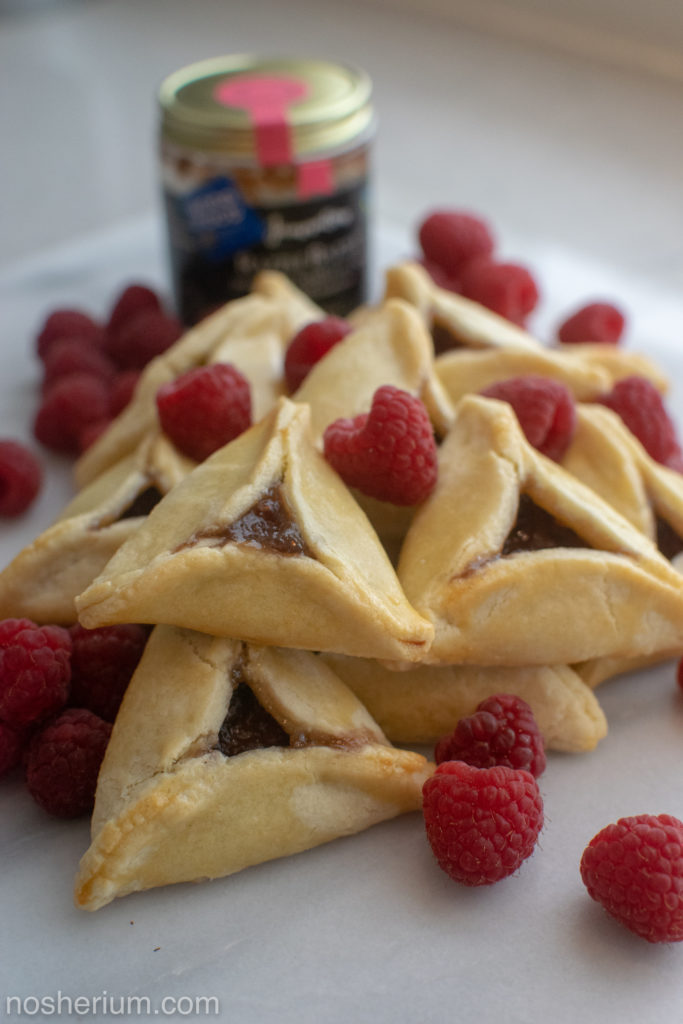
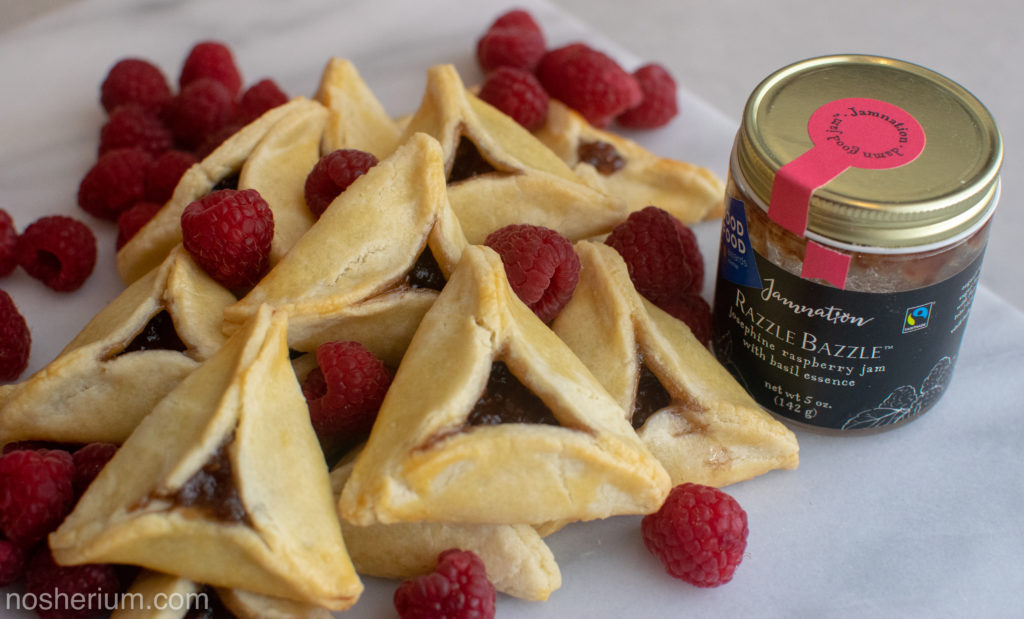
Tender almond shortbread filled with beautiful, juicy jam – Hamantaschen time is here again! Choose your adventure – sweet raspberry with a hint of herbaceous basil? Creamy goat cheese with thyme-infused fig? Or do like I did and make both! #TeamBoth
I’m working with beautiful jams gifted by Jamnation – a company dedicated to using local fruit and sustainable, Fair Trade certified ingredients to make unique jams. They use less sugar and more fruit, so their jams pack a serious punch of fruity goodness! I was lucky enough to meet their founder, Gillian, a few years ago at a tasting of the Jamnation jams at my favorite local market. The fruit flavors were clear and vibrant, and we had a nice chat. Last year Jamnation’s Razzle Bazzle won a Good Food award and I got in touch to congratulate them. One thing led to another, and Gillian very kindly sent a box of jams for me to experiment with.
All this is to say that this post has been a long time coming! Thank you to Gillian and Jamnation for their generosity and patience! You can order their jams online, and shipping is a flat rate of $7. I highly recommend stocking up on their special jams – since receiving the gifted package I have bought several jars for myself.
My mission was to do right by these beautiful preserves, and I brainstormed a few options – chocolate dough, layering, dipping, garnishing! And I landed on Uri Scheft’s gorgeous rich almond shortbread dough. Uri is a renowned and award-winning baker, and owner of Lehamin Bakery in Israel. I’ll tell my Uri Scheft stories another time, but suffice to say, he is kind and his creations are an inspiration! If you’ve had the famous babka from Breads Bakery in New York, you have enjoyed Uri’s expertise.
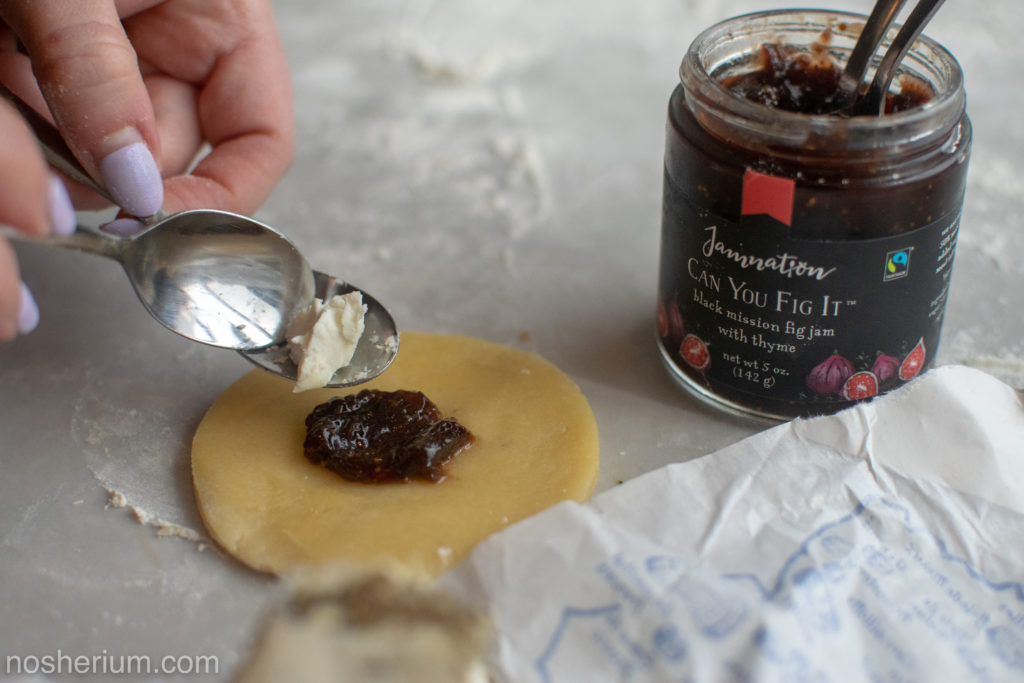
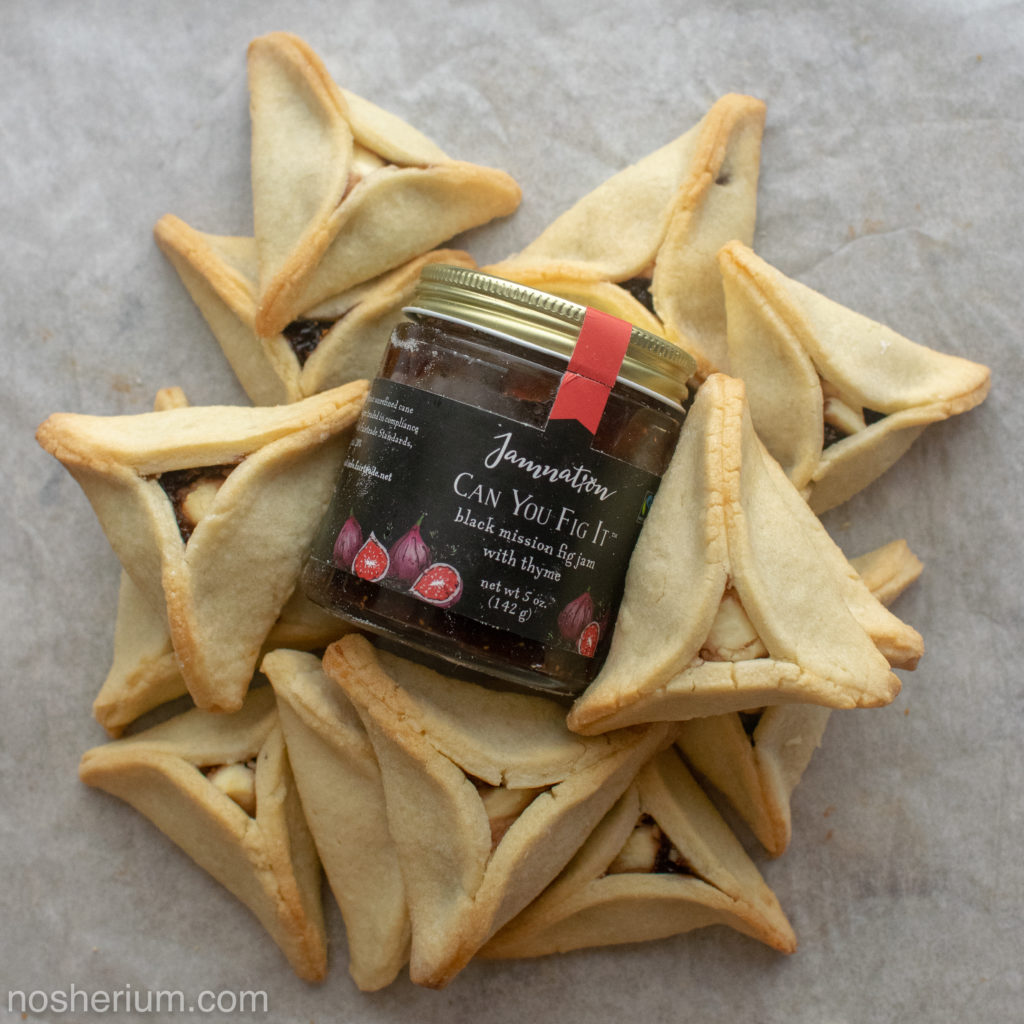
The shortbread crust is different from my usual Hamantaschen pastry – still flexible and bakes up beautifully. With the Jamnation jams tucked inside, these Hamantaschen baked up like jam hand pies – sturdy but tender, rich pastry with a soft fruity filling. For Good Food award-winning Razzle Bazzle, I let the raspberry and basil jam sing solo inside the crust. The other jam I used was Can You Fig It – fig with thyme, and I paired it with a creamy goat cheese. The cheese makes it more an appetizer, one I would be delighted to serve at a Purim cocktail party. Either way, you can’t go wrong!
This recipe is easy, especially because the tasks can be split up with the dough and cookies resting in the fridge. I hope you love them as much as I do!
Almondy pastry encloses sweet, nuanced jam fillings – these Hamantaschen cookies are perfect for Purim, or any occasion that calls for delicious pastries! Many thanks to Jamnation for the beautiful jams. Jamnation’s motto is more fruit. less sugar. damn good jam. And they live up to it! They use 50% more fruit that standard for rich, vibrant flavors, and add herbs and spices for a unique twist.
Set the butter on a piece of parchment paper and use a rolling pin to whack it—you want to soften the butter but keep it cold. Place the smashed butter, confectioners’ sugar, and granulated sugar in the bowl of a stand mixer fitted with the paddle attachment, and mix on low speed until combined, about 30 seconds. Increase the speed to medium-low and beat for 30 seconds (you want the mixture to be well mixed but not airy—you don’t want volume).
Add the beaten eggs and mix on low speed until just combined, stopping the mixer to scrape down the sides and bottom of the bowl as needed. Add the all-purpose flour, almond flour, and salt and mix just until almost combined. Turn off the mixer, remove the bowl from the mixer base, and use a plastic dough scraper to continue to fold and work the dough until it is of one consistency (finishing the dough by hand prevents over-mixing and ensures that the shortbread will be very tender).
Transfer the dough to a large sheet of parchment paper and use plastic wrap or another sheet of parchment to press it into a 5-by-10-inch, ½-inch-thick rectangle. Leaving the plastic wrap (or parchment) on top, refrigerate the dough for 1 hour (the dough can be refrigerated for up to 5 days before using or frozen for up to 1 month).
Shaping the Hamantaschen cookies
Set the shortbread dough on a lightly floured work surface. Lightly flour the top and roll the dough into an 18-inch square that is 1/8 inch thick. As you roll it, move the dough often, flouring the top and underside lightly so it doesn’t stick to the work surface or rolling pin. If the dough becomes warm and starts to stick or become difficult to work with, slide it onto a sheet pan and refrigerate it until it becomes firm again—about 20 minutes should do it.
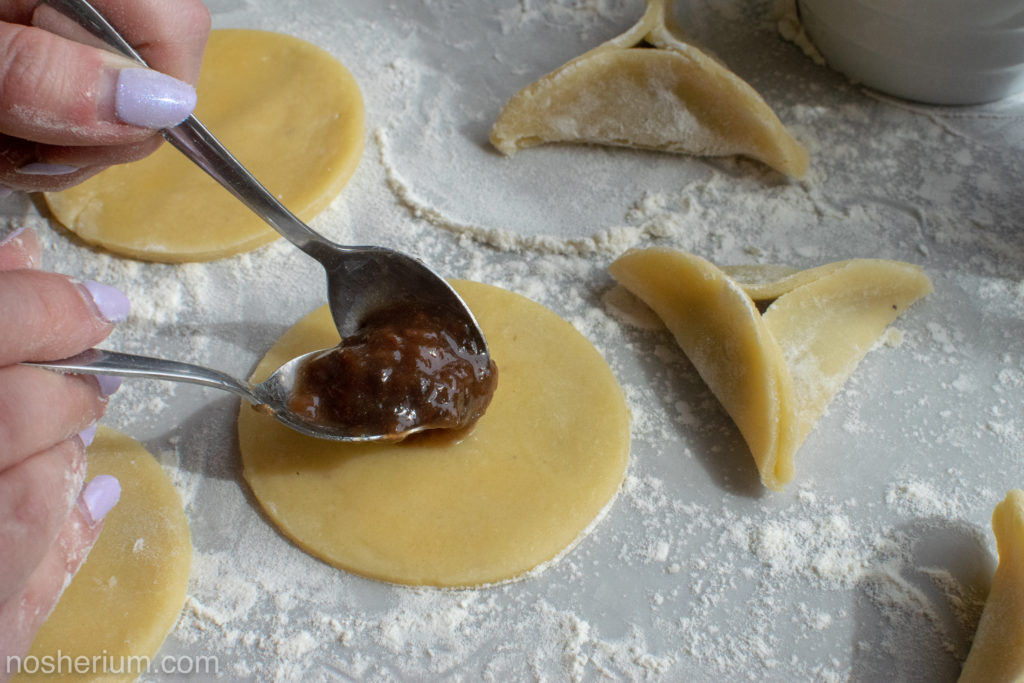
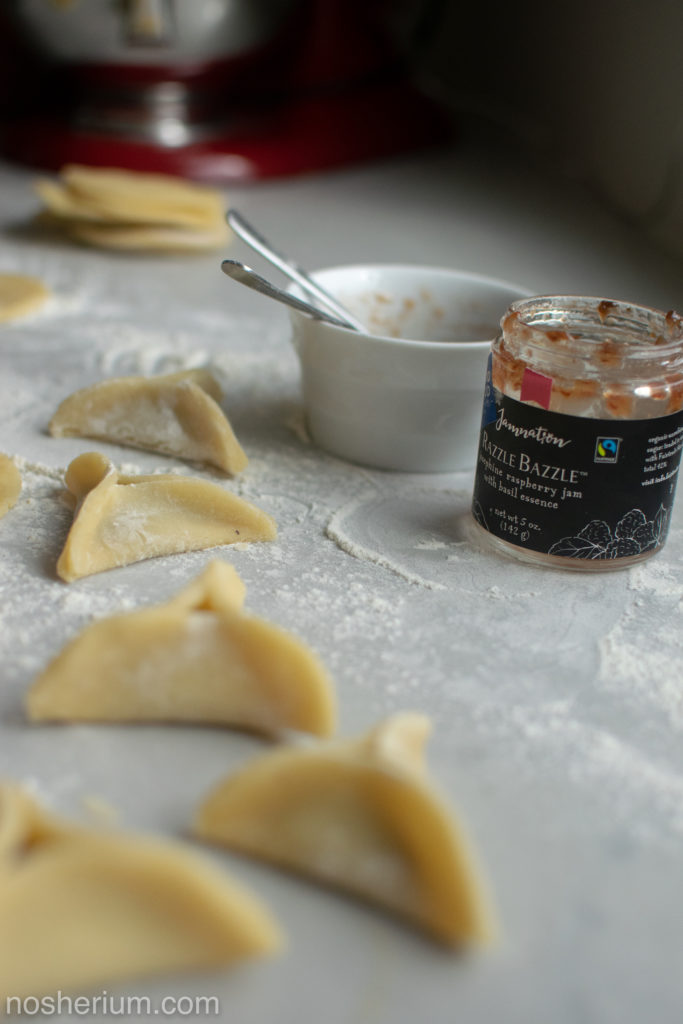
Make the egg wash: In a small bowl, whisk the egg, water, and salt together. Use a 3-inch round cookie cutter (or an upside-down glass) to stamp out as many rounds as possible, leaving as little space between the circles as possible so you don’t end up with lots of scraps. Place the rounds on a parchment paper–lined sheet pan about 1½ inches apart and refrigerate for 10 minutes to chill them. Gather the scraps and lightly press them together into a ball (don’t knead the dough—just firmly press it), flatten the ball, wrap in plastic wrap, and set it aside in the refrigerator for 10 minutes. Brush the surface of each chilled pastry round with egg wash. Spoon about a teaspoon of jam (don’t overfill the pastry or you won’t be able to shape the hamantaschen) (*optional* adding a dab of goat cheese) onto the center of each round. Pinch the dough into the classic triangular hamantaschen shape around the filling.
Flour the work surface and roll out the ball of scraps. Repeat the stamping, filling, and shaping process, refrigerating the dough for 15 to 20 minutes if it becomes too sticky to work with. Add the shaped cookies to the others on the sheet pan, and refrigerate the hamantaschen for at least 30 minutes or overnight.
Adjust the oven racks to the upper-middle and lower-middle positions. Preheat the oven to 350°F.
Use a pastry brush to lightly brush the sides of each hamantaschen with egg wash (*I did this for the raspberry cookies, but didn’t for the fig and goat cheese ones*). Bake a sheet of hamantaschen on each oven rack for 8 minutes; then rotate the top sheet to the bottom rack and the bottom to the top rack and continue to bake until the pastry is evenly browned, 8-10 minutes. Remove the sheet pans from the oven and set the cookies aside to cool. Store the hamantaschen in an airtight container for up to 3 days.
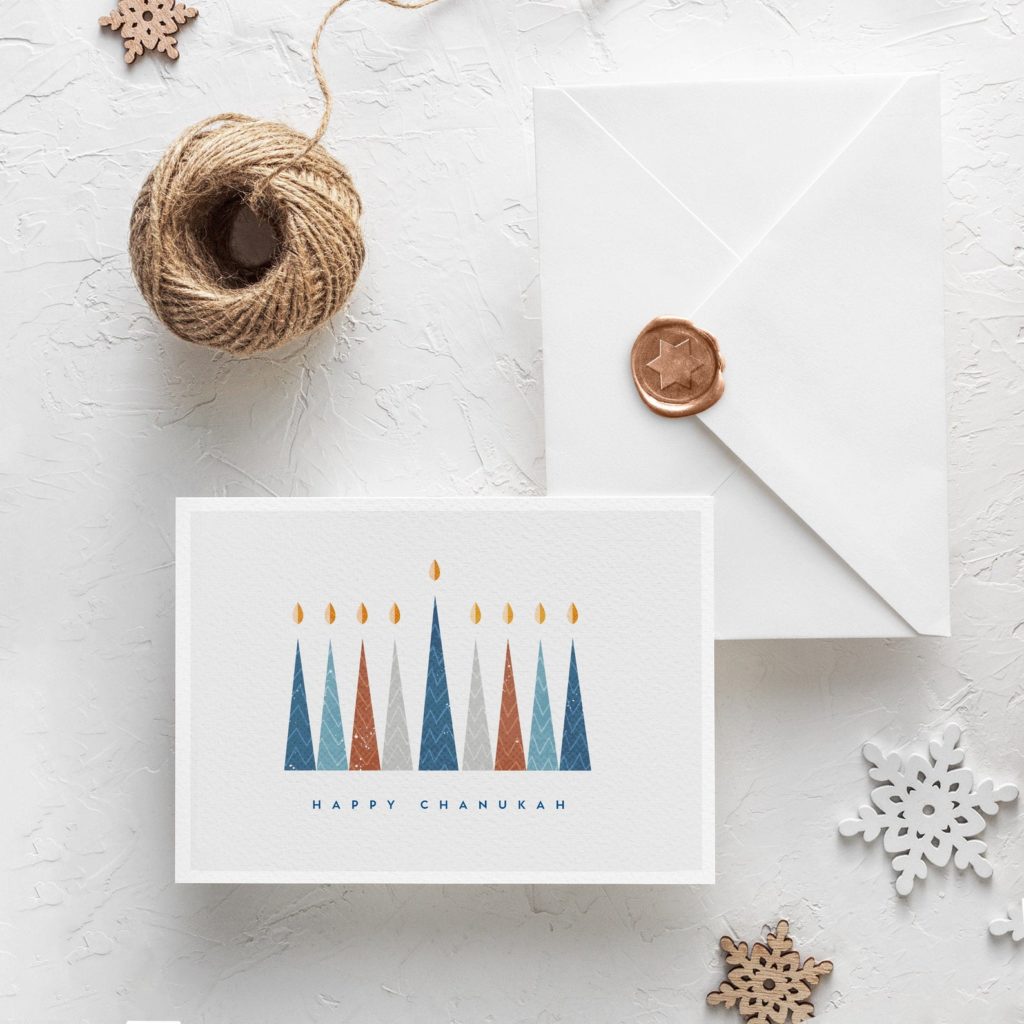
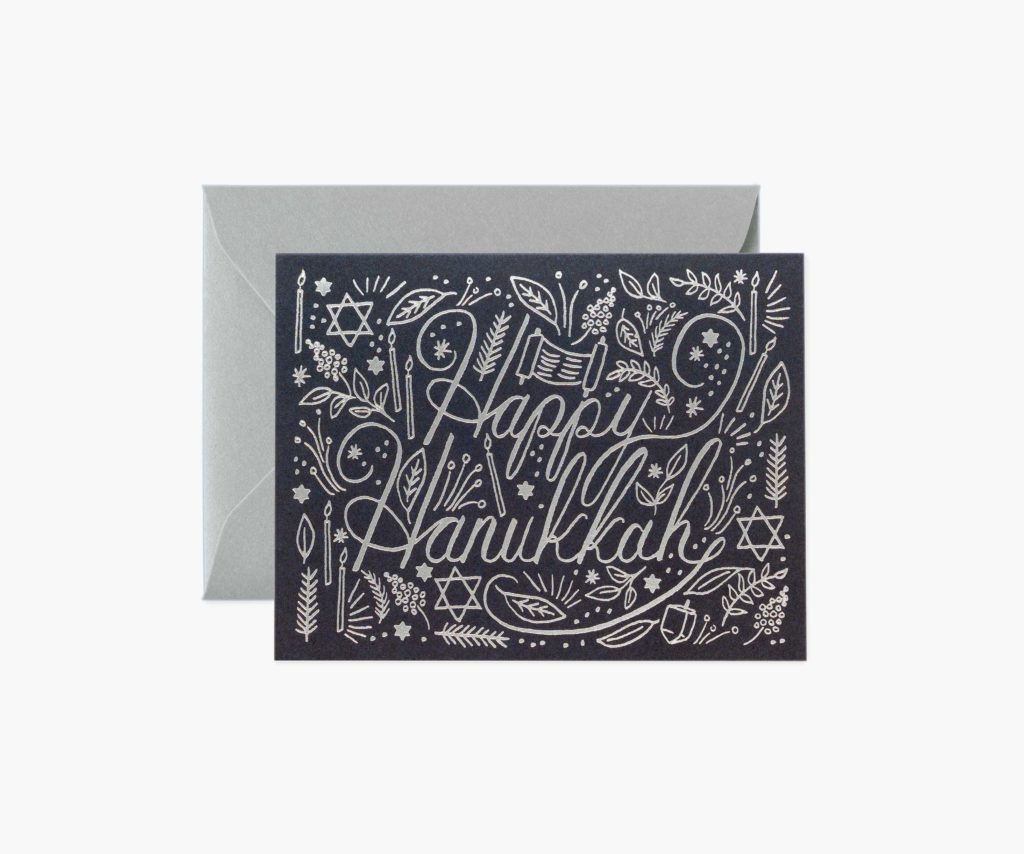
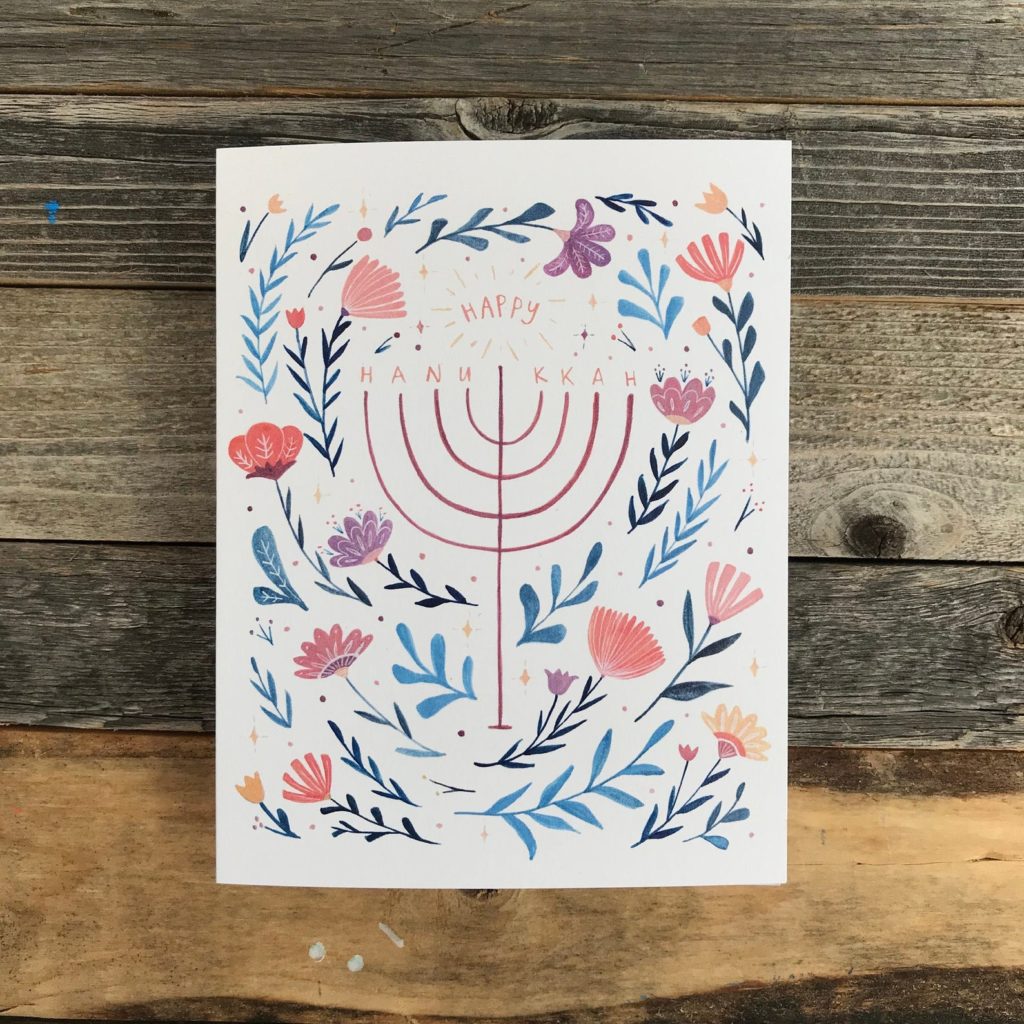
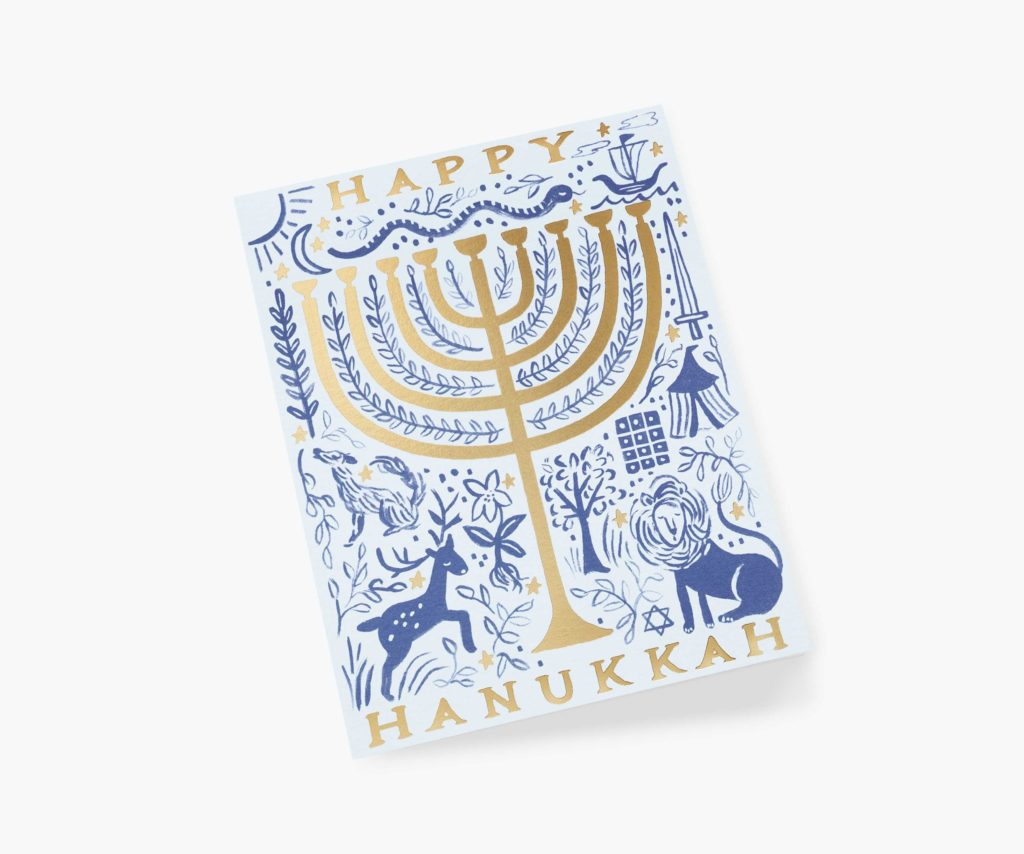
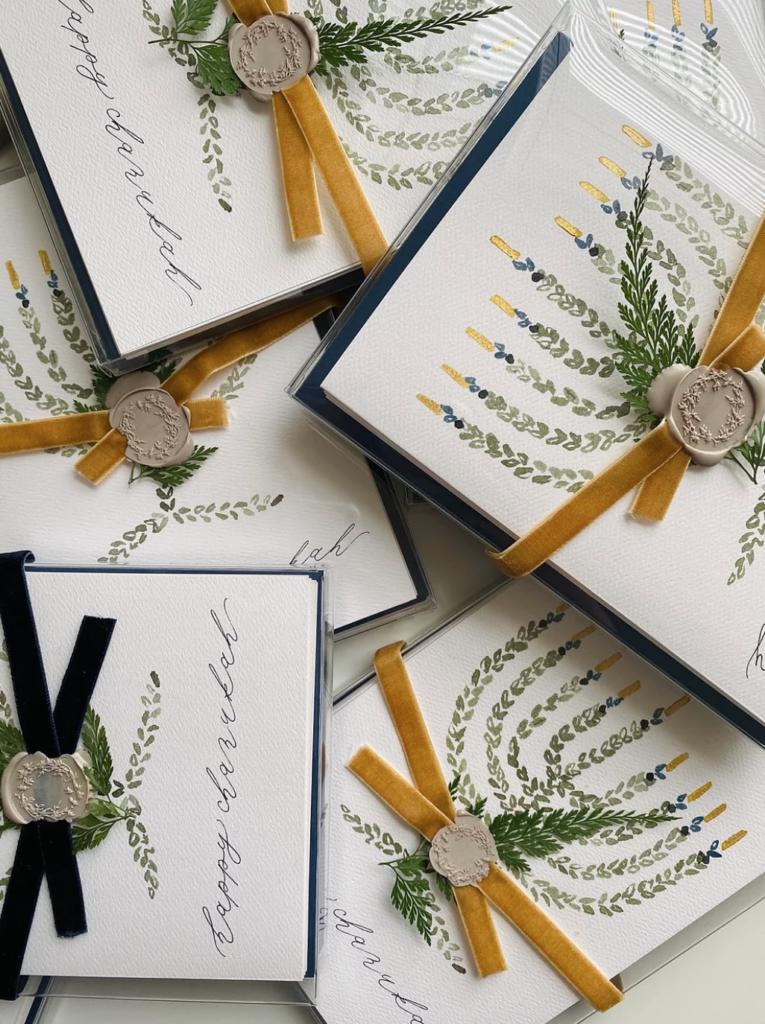
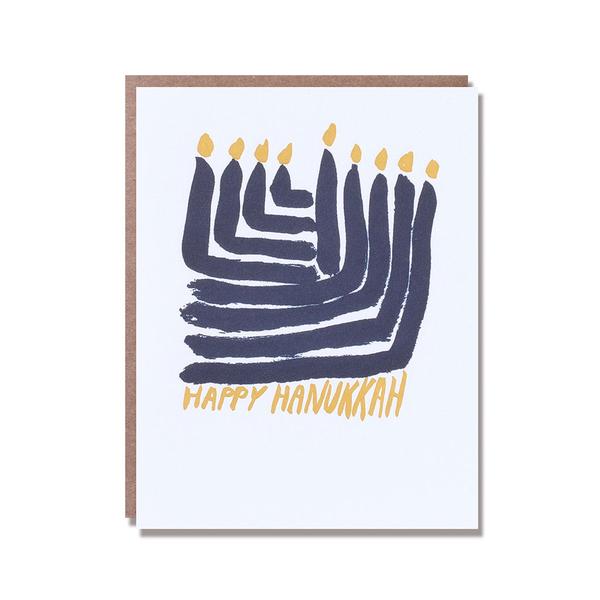
Every year brings more and more beautiful Jewish design. I like to order several cards each year, then try to remember to send or give them to friends. Check out some of my favorite Hanukkah and holiday greeting cards, many have Black Friday/Small Business Saturday/Cyber Monday discounts. Click on the photos to get more information and to purchase cards of your own!
Let me know in the comments if you are or know of a great independent artist making Hanukkah items, I always love learning more!
Years ago, before I started this blog, started reading Hummingbird High. It’s a baking blog with beautiful recipes, photography, and prose by Michelle Lopez. I found myself making her recipes, marveling at her cake decorating skills, and asking many questions of her. She was generous with her time and always inspired me – I absolutely relied on her excellentguides to Portland, OR when I visited several years ago.
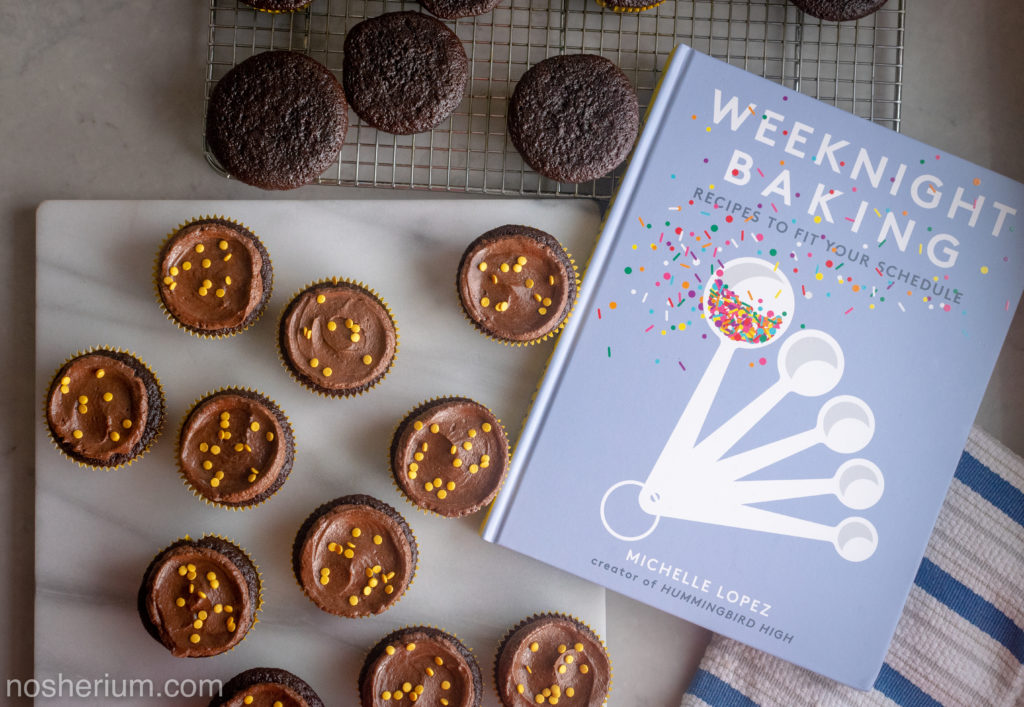
Michelle’s new book, Weeknight Baking: Recipes to Fit Your Schedule shows how to fit baking into a busy, 21st century life – short and simple recipes as well as more involved recipes in manageable steps over the course of a few evenings. I am deeply touched and honored to have received an early copy of the book to share and explore. The condition of me receiving this book was simple – share the recipes and book!
I made several recipes and shared the epic Pumpkin Bread on my Instagram, and followed the #WeeknightBakingBook hashtag to see what other people were making from the book. It makes me hungry, and so heartened to see people coming together to promote this beautiful work.
Today I’m sharing my version of the chocolate cake recipe with a #Hanukkah twist! This year Hanukkah starts on December 22nd and continues until December 30 – overlapping nicely with Christmas, and letting up in time for New Years. In past years, I’ve shared some less common recipes and approaches to celebrating Hanukkah – no latke recipes, no doughnut recipes… yet. We did Olio Nuovo Olive Oil Tasting, Frying-Free Hanukkah, shopping guides, latke round-up, as well as olive oil-centric recipes like a fresh Green Bean and Pomegranate Salad and Zesty Lemon Olive Oil Cake.
The Weeknight Baking book is divided into categories – cookies, loaf cakes, bars, cakes, frostings, etc. Each of the categories has suggestions and instructions to help the busy baker, and there are reference chapters about ingredients, shortcuts, equipment, and substitutions. The substitutions came in handy when I realized I didn’t have (or really want to have) cake flour in the house. Michelle’s *mathmagical* formula let me use all-purpose flour instead.
The #vegan recipes are especially exciting because of how Michelle approached their development with her admirable curiosity. Additionally, each recipe includes suggestions for ingredient and flavoring tweaks – everything from different spices to how to get tahini in to more things (my life’s goal!).
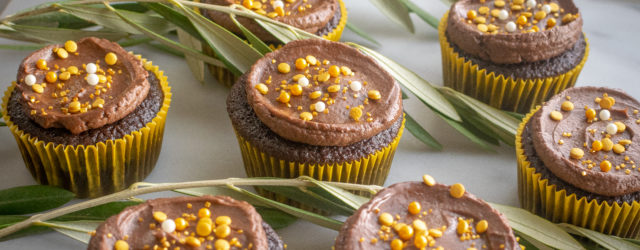
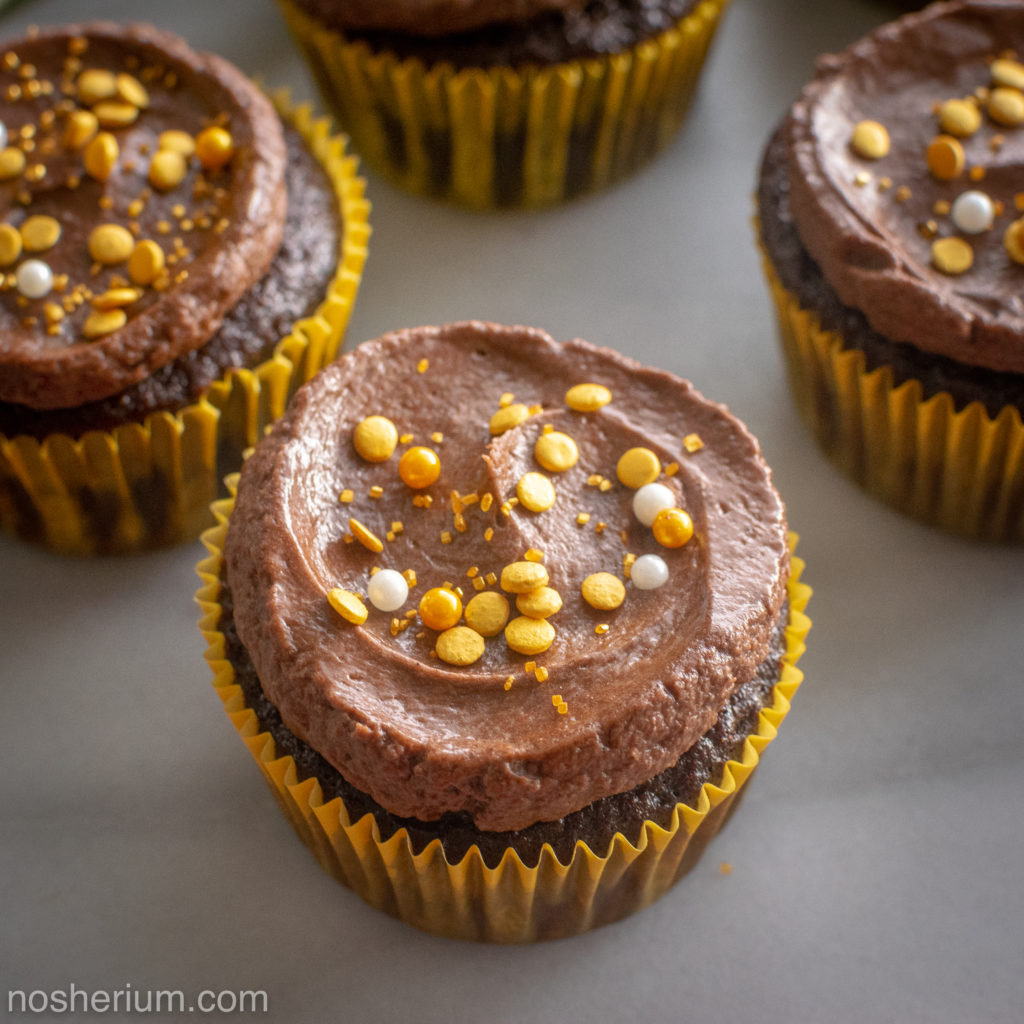
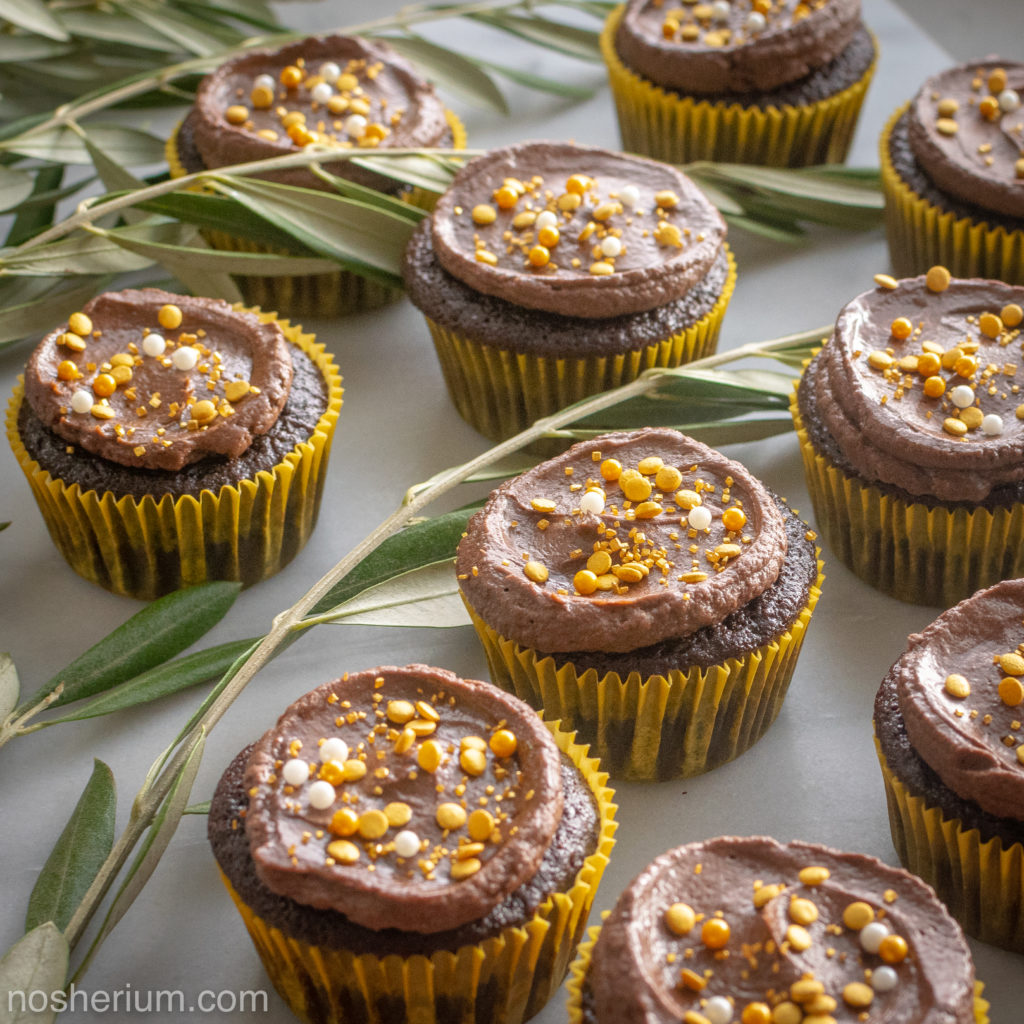
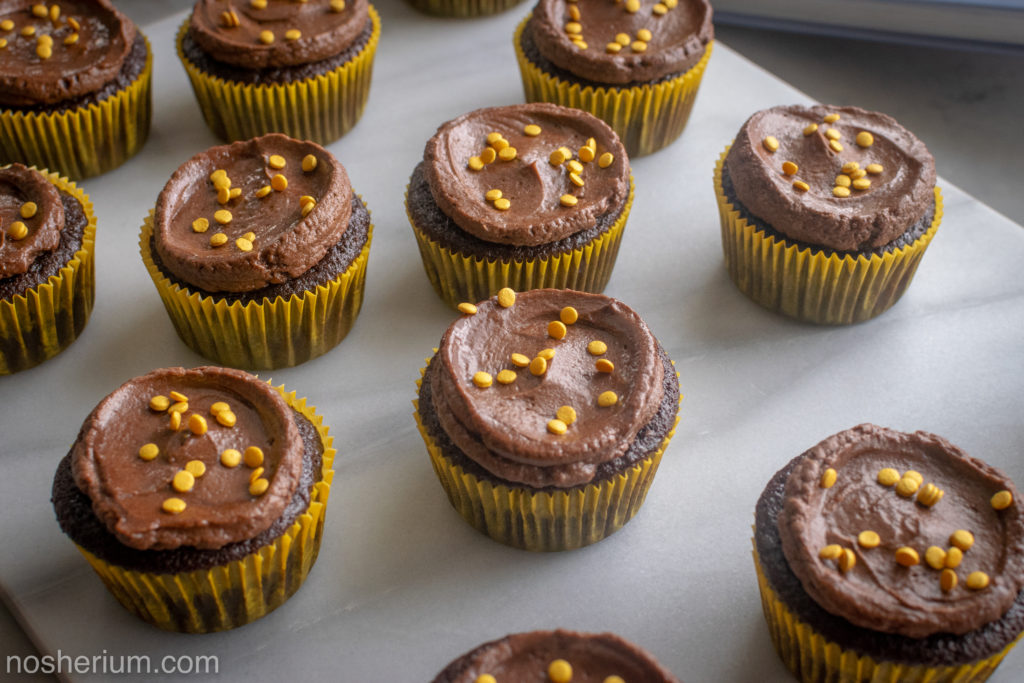
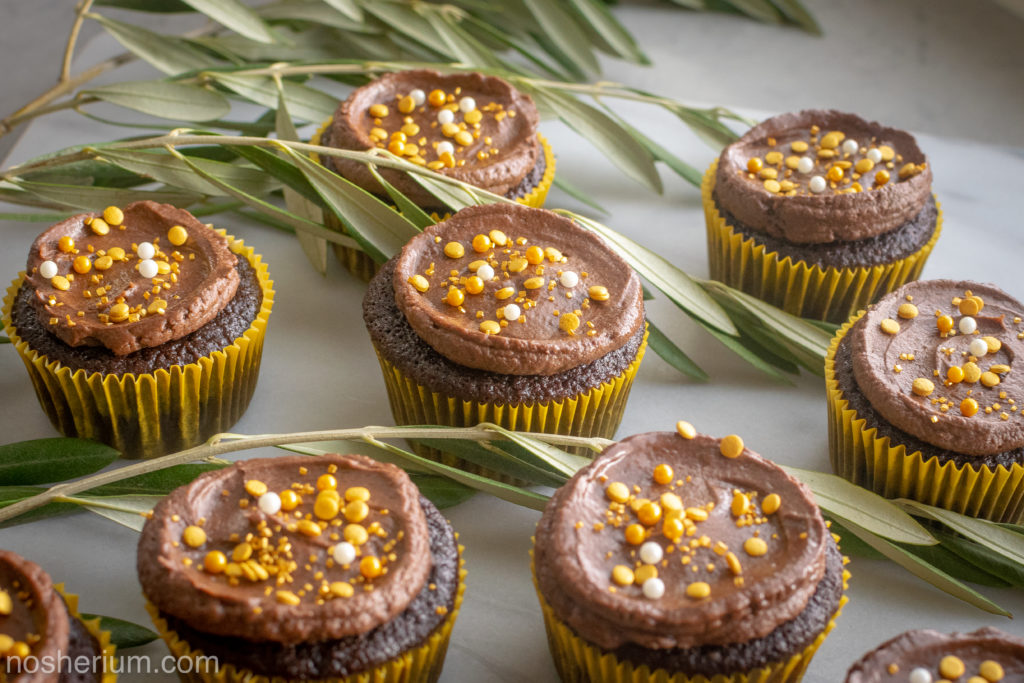
Every year, I look for a new way to celebrate #Hanukkah’s miracle ingredient – olive oil. This year we have tender chocolate cupcakes featuring my beloved California olive oil with an easy chocolate buttercream. I decorated them with gold sprinkles, disks, and sugar to reference the rededicated temple of the Hanukkah story and the traditional, extremely noshable gelt coins. The mix of sprinkles I bought was pretty, but included tooth-challenging sugar balls, so I linked to another option above and in the recipe. A glitzier option would be using gold cupcake liners instead of the yellow ones I used.
In the spirit of Hanukkah’s story of liberation and self-determination, the cocoa products used in this recipe are fair trade or similarly certified. It’s getting easier to find ethically certified products, and I love featuring them here. If you’re looking for fair trade chocolate coins for the holiday and competitive dreidel, herehereherehere! They are all delicious!
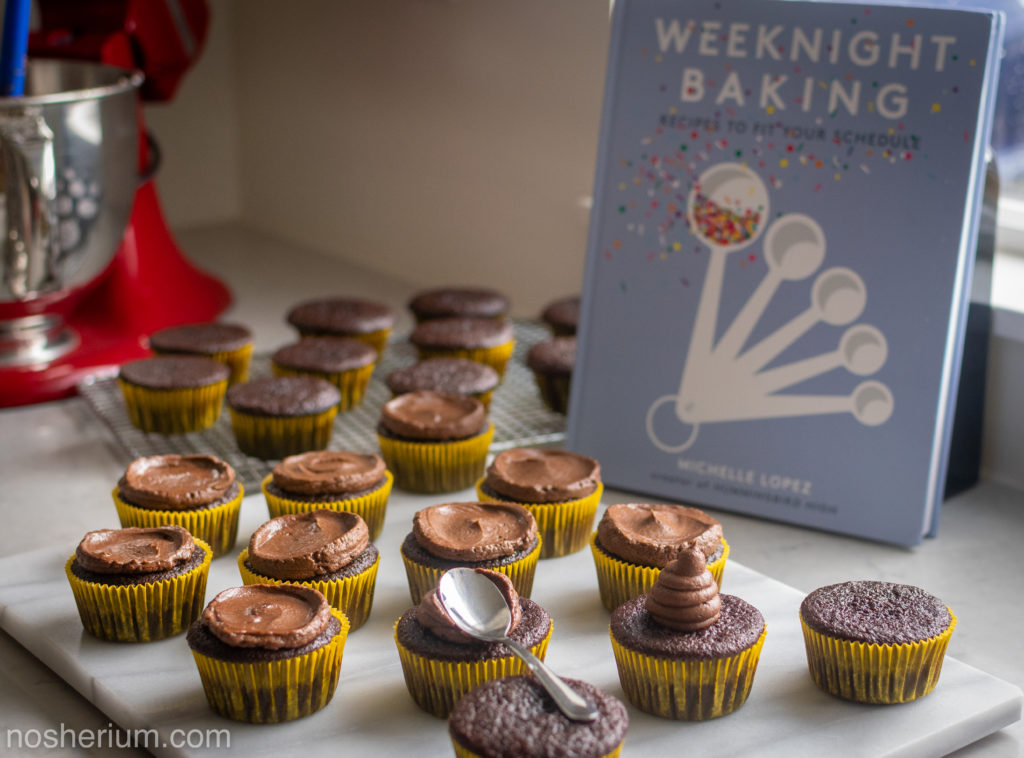
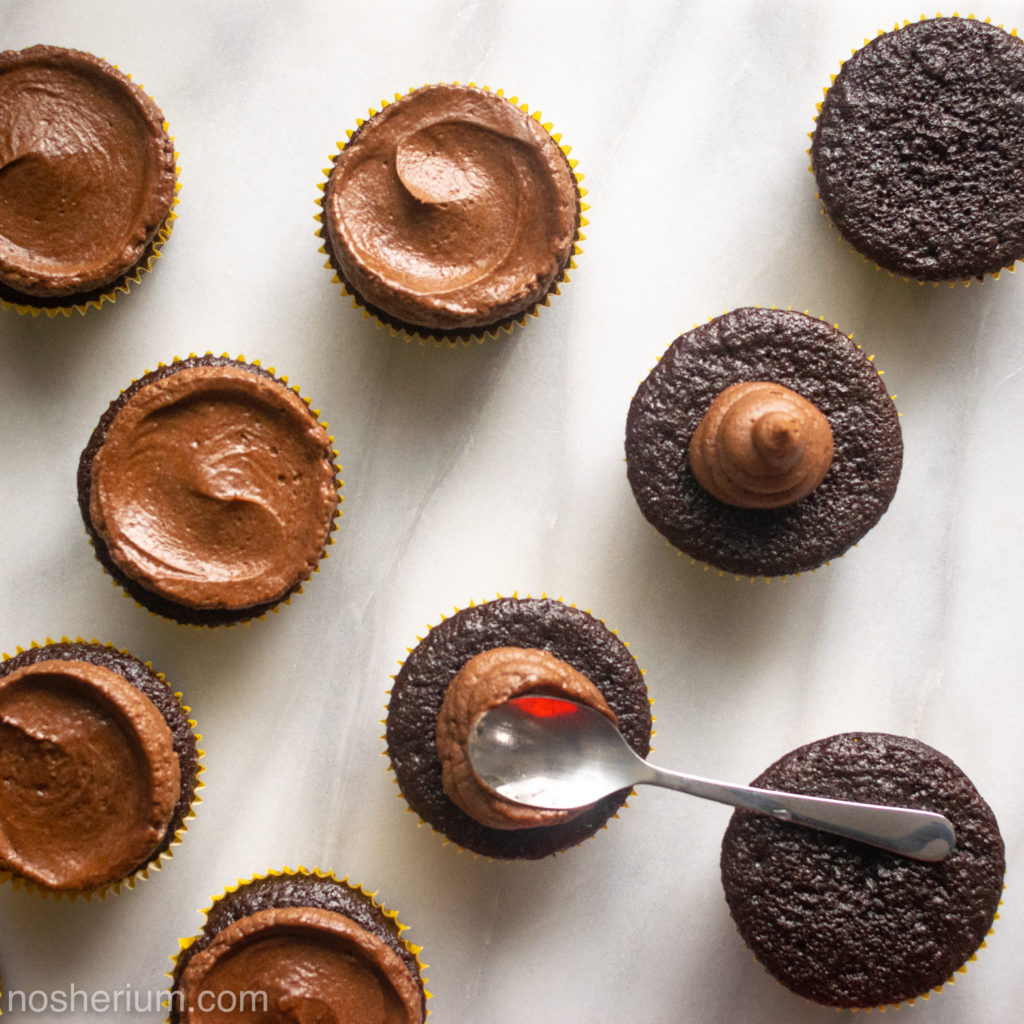
A little confession: this is the first time I have made impressive-looking frosting. The chocolate buttercream frosting in Weeknight Baking is so straightforward, so easy, and so delicious! I piped blobs onto the fully-cooled cupcakes then used a tiny spoon dipped in hot water to spread it out from the center. It took as few tries, but I got pretty good at it!
These cupcake are perfect whether you are celebrating Hanukkah, Christmas, Kwanzaa, Solstice, Festivus, or just feeling like enjoying some tender, beautiful cake! Happy holidays, and happy cake days to you!
My modifications have been noted in bold whether applicable. If you love this recipe, please consider buying Michelle Lopez’s Weeknight Baking: Recipes to Fit Your Schedule. This recipe calls for a hot cup of coffee, I recommend making it ahead of time and keeping it in an insulated container until needed.
1/2 cup (1.5 ounces) natural unsweetened or Dutch processed cocoa, sifted
1/4 cup (2 fluid ounces) whole milk
1 teaspoon pure vanilla extract
1/4 teaspoon kosher salt
Instructions
For the cake:
Position a rack in the center of the oven and preheat the oven to 350°F. Prepare your cake pan of choice: If making a sheet cake or layer cake, generously spray the sheet pan or cake pans with cooking spray and line the bottom with parchment paper (cut to fit, if using round pans). Spray the parchment, too. If making cupcakes, line two muffin tins with paper liners
In a medium bowl, whisk together the flour, sugar, cocoa powder, baking soda, baking powder, and salt.
In a large bowl, whisk together the buttermilk, oil, eggs, and vanilla. Gradually whisk in the dry ingredients until just combined. Slowly pour in the hot coffee. The batter will be fairly runny; use a rubber spatula to scrape down the bottom and side of the bowl. Use the rubber spatula to finish mixing until smooth and well combined, 2 to 3 minutes more.
Pour the batter into the prepared pan(s). If making a sheet cake, bake for 35 to 40 minutes. If making a layer cake, note that this recipe makes around 44 ounces of batter; pour 22 ounces into each cake pan and bake for 35 to 40 minutes. If making cupcakes, pour the batter into a large liquid measuring cup and use it to fill each paper liner two-thirds of the way; bake for 20 to 25 minutes. When done, the top of the cake should bounce back when gently pressed and a skewer inserted into the center of the cake should come out with a few crumbs attached. Cool completely in the pans on a wire rack before frosting.
For the frosting:
In the bowl of a stand mixer fitted with the paddle attachment, beat the butter on medium-low until soft and creamy, 2 to 3 minutes. Scrape down the bottom and side of the bowl with a rubber spatula. With the mixer on low, gradually add the confectioners’ sugar, cocoa powder, milk, vanilla, and salt and beat until combined. Scrape down the bottom and sides of the bowl once more, then beat on medium-high until the frosting is creamy and smooth, 2 to 3 minutes. Use immediately or follow the storage instruction on page 97. The frosting will keep in the refrigerator for up to 1 week or in the freezer for up to 1 year.
Assembly:
Pipe or spoon a mound of frosting onto each cupcake, then using a small spoon (I used a demitasse spoon, which is smaller than a teaspoon, but any will do) that has been dipped in hot water to swirl and spread the frosting out from the center. Practice on a plate if you want to, you can scoop the practice frosting back into your piping bag or storage container.
Sprinkle gold decorations onto the frosting, tapping pieces down if needed.