Things I have learned while writing this post:
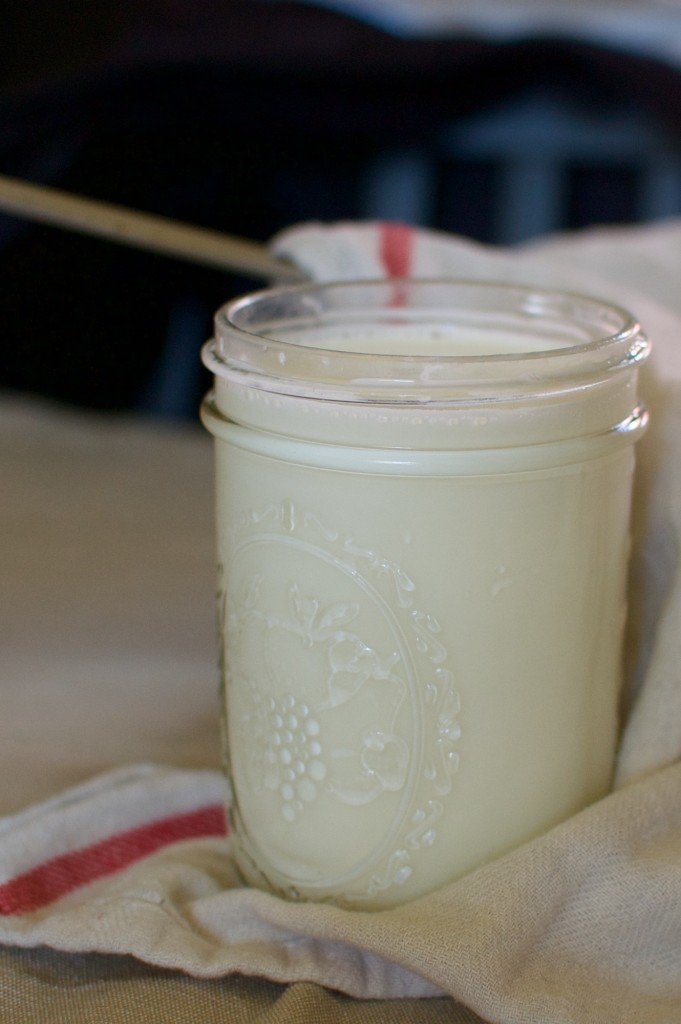
- Yogurt is not photogenic – it is white liquid in a pot or white liquid in a jar or a thicker white liquid in a bowl. There is no way to photograph it and make it look appetizing or sexy.
- Don’t drip milk on a hot burner. The resulting smell and bubbled mess will be off-putting.
- My British side shows up at the strangest times. Yoghurt vs. yogurt. Spilt vs. spilled. Whilst vs. while
- Making yogurt is dead easy and anyone can (and in my opinion, should) do it.
Prepare yourself, gentle reader, for a yogurt making adventure and some really boring, but hopefully helpful photographs.
I love yogurt. No. Correction. I passionately love very good yogurt and snobbishly distain inferior yogurt. My current favorite yogurt is creamy, thick, a bit tangy, and (as my dear friend describes it) velvety. I eat it every weekday morning and sometimes in the afternoon with shaved coconut and jam or fruit. It is the best yogurt I have ever eaten, and it has a price that reflects that goodness. This presents a culinary adventuring and cost-cutting opportunity. And so the age-old question is asked “Can I make this?”
More accurately, “Can I make this easily and enjoyably, without making too much of a mess, without buying absurd new gadgets?” The short answer is a resounding YES!
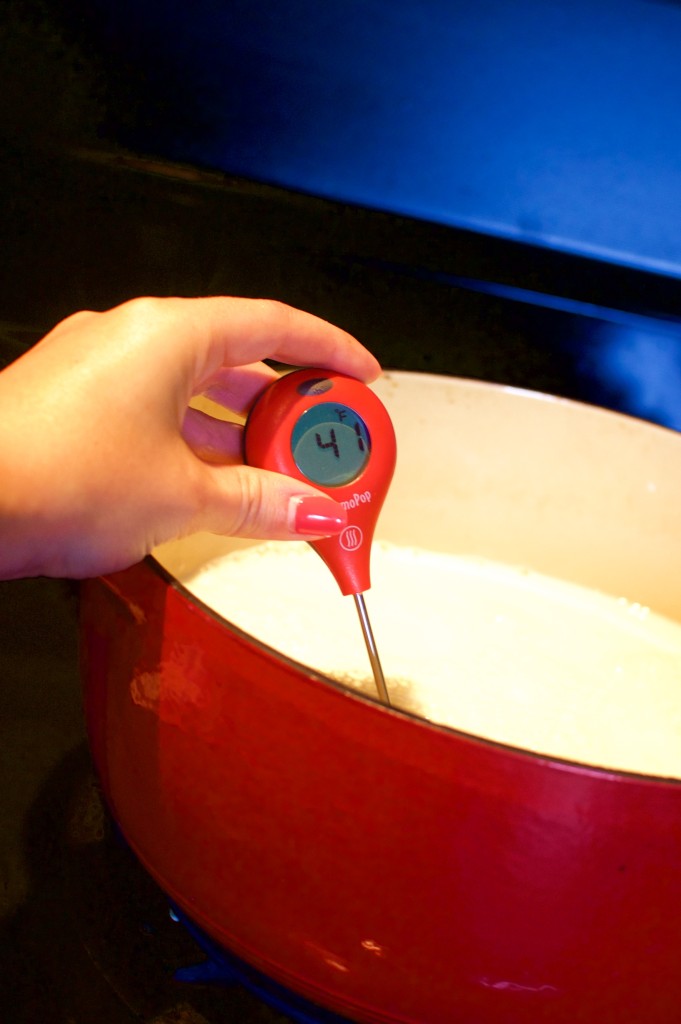
- Easy – Get an adorable instant-read thermometer and the rest is a cake walk. Easy as pie.
- Enjoyable – Four words: Homemade Yogurt Bragging Rights. Everyone (including your own beautiful self) will be impressed by your culinary acumen and delicious fancy yogurt.
- Not too messy – Just be reasonable! Don’t try silly things like photographing yourself pouring milk into the pot because you will spill on the burner and cause the aforementioned smell and mess. Common sense, that’s the way.
- No absurd new gadgets – At first my head was spinning with thoughts of incubating chambers, special jars, and fancy new pots, and I was unwilling to even try making yogurt. Then I found a common sense approach in this great post and I took my first step toward yogurt independence!
The process is simple.
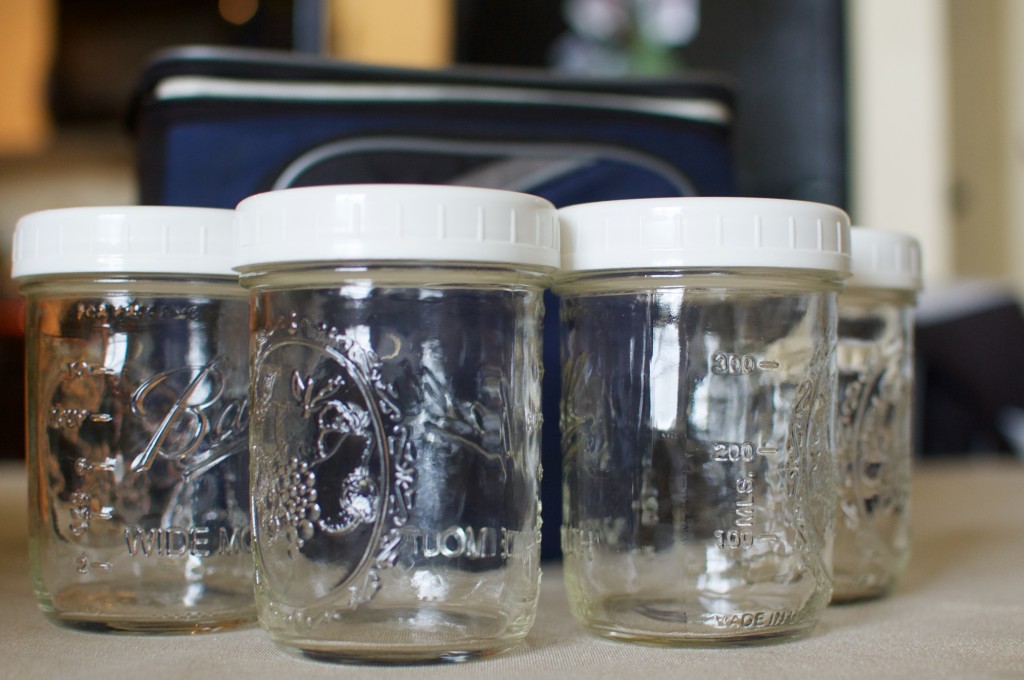
Get good jars with well-fitting lids and a small, water-tight cooler (I can’t find mine online, so I recommend this one from Amazon.) In these pictures, I use pint-sized (2 cup/500ml) mason jars with plastic lids. However, my new favorite jars for this are two quart-sized (4 cup/1 l) mason jars with their corresponding lids. If you really want to be elegant and live life like you are in Kinfolk magazine, you could use gorgeous Weck 1 liter tulip jars. The larger jars don’t rattle as much in the fridge.
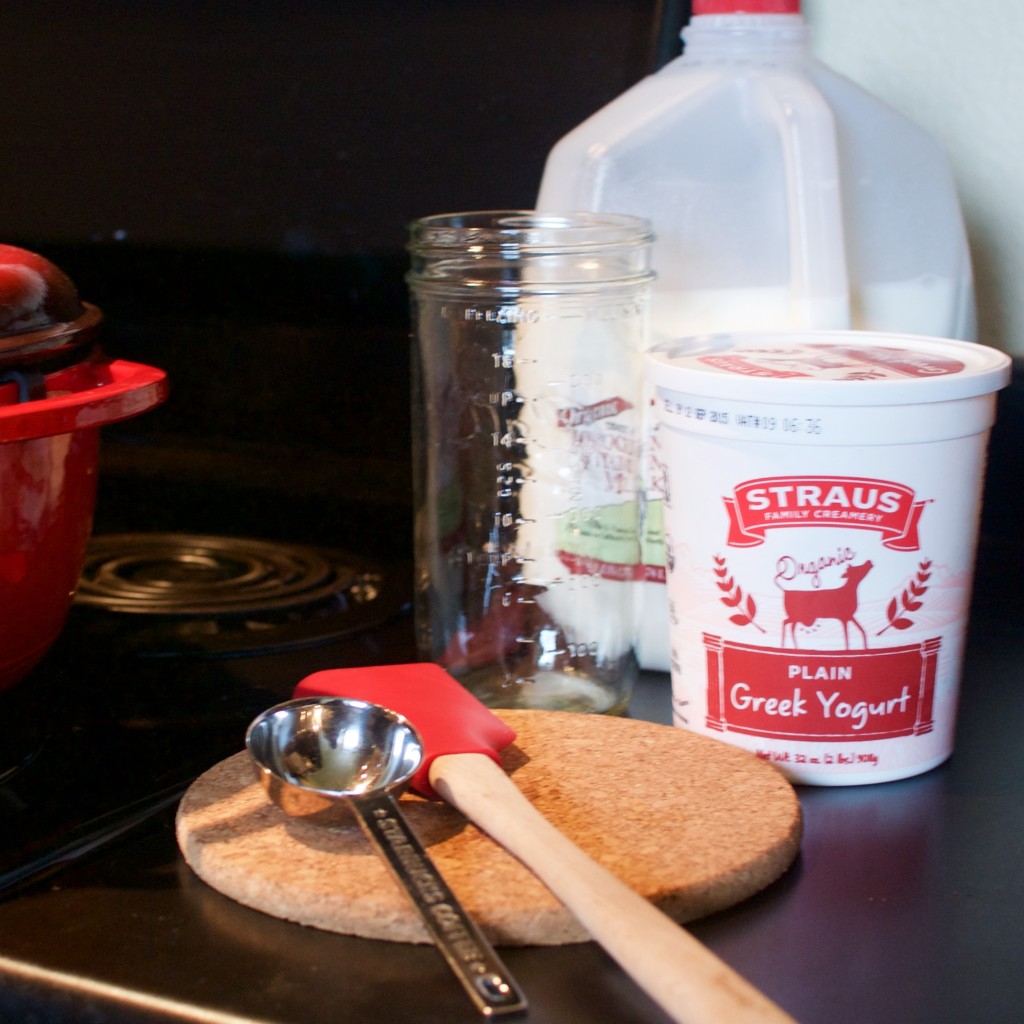
Gather ingredients. Heat milk. For the love of all that is holy, use a digital instant-read thermometer.
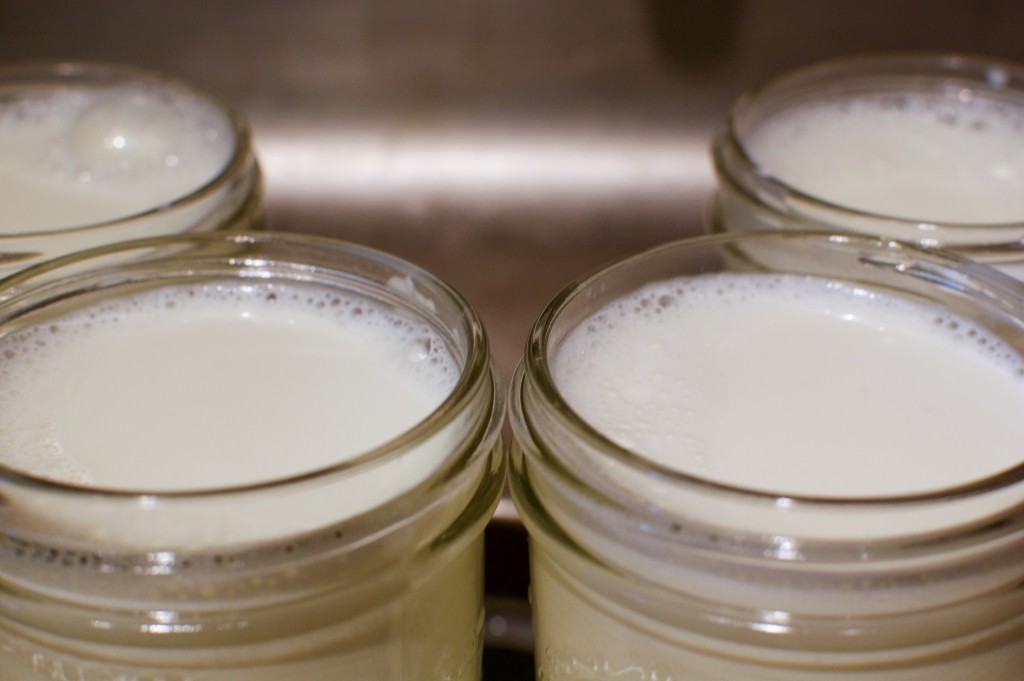
Cool milk a bit, stir in live yogurt, and pour the mixture into jars.
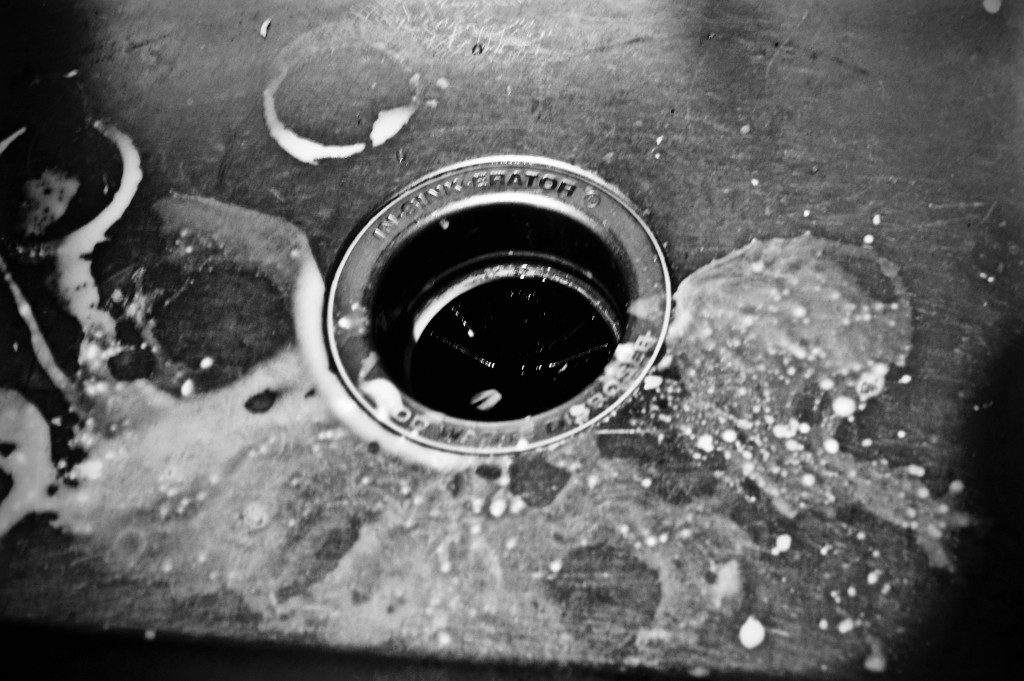
Cry over the spilt milk and crimes against potential yogurt.
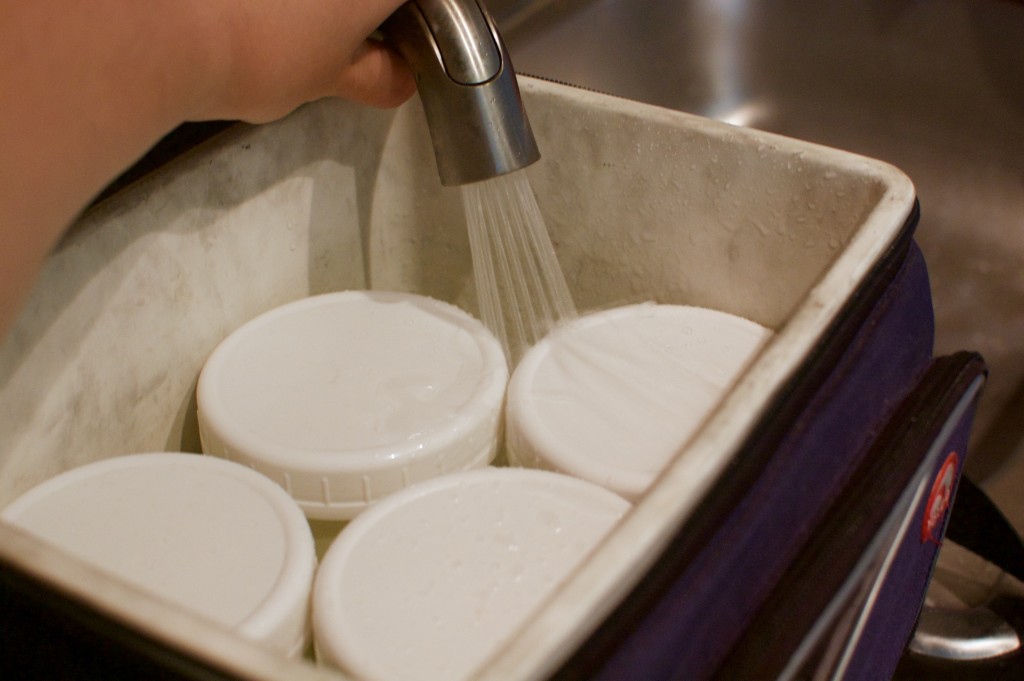
Incubate! The bacteria in yogurt need a warm, stable environment to work their magic, and a cooler box filled with hot (but not boiling!) water is perfect.
Wait. For six hours. Work on a blog post, bake some paleo/gluten-free/hippie-crunchy granola, or make some compote to go with your soon-to-be yogurt, take some photographs of your latest gardening successes.

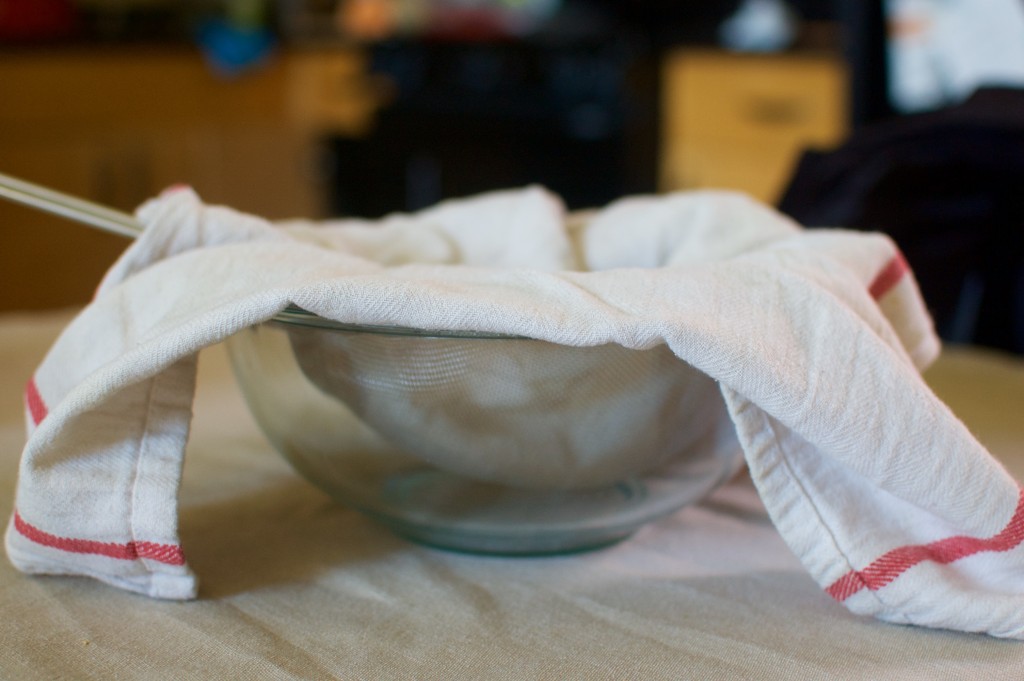
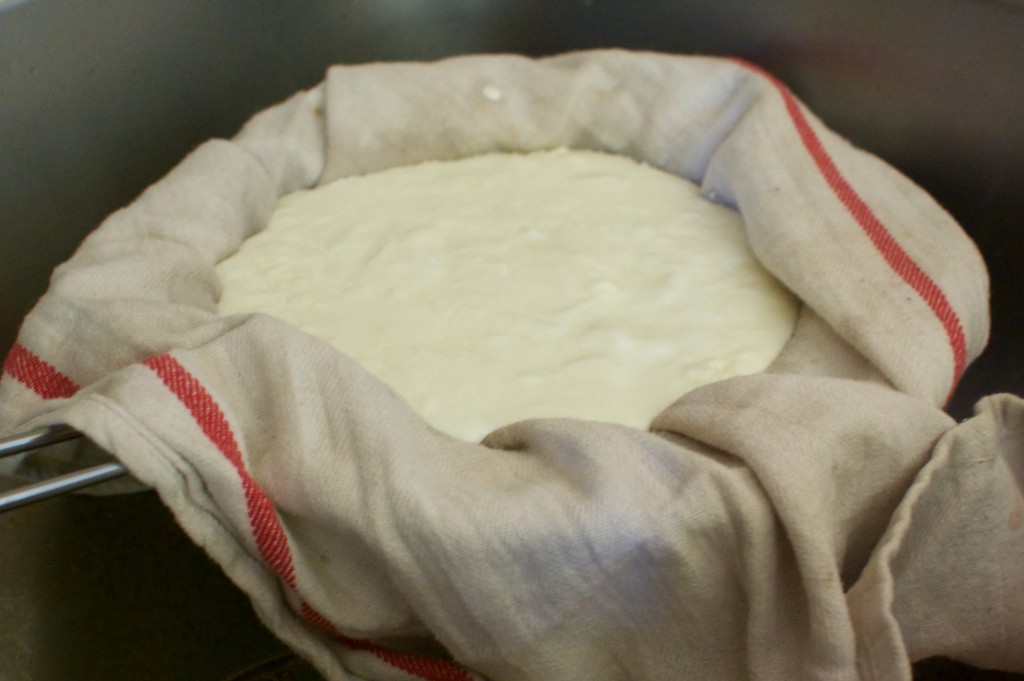
(Optionally) Strain. If you like Greek yogurt, line a mesh strainer with a clean kitchen towel or three layers of cheesecloth, place it over a bowl, and pour the yogurt in. After two hours, almost all of the whey will drain out and you will have thick, beautiful Greek-style yogurt.
Chill. Eat. Enjoy.
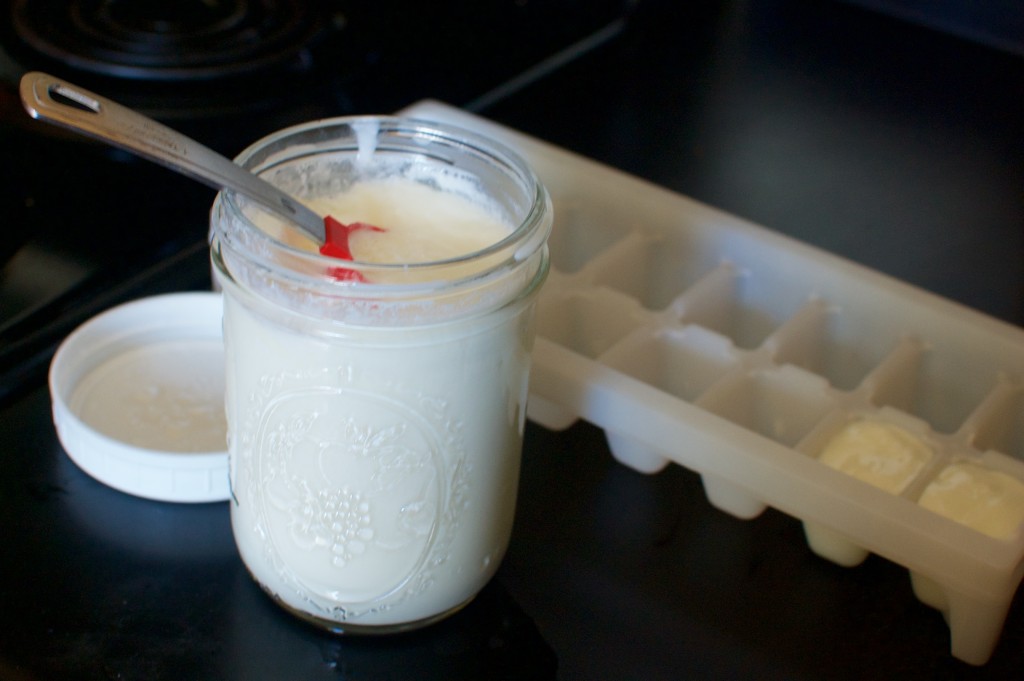
I emphasize that the outcome of this recipe is dependent on the quality of the ingredients. I use whole organic milk and my favorite, very pricey yogurt as a starter. Do not use poor quality, flavored, or low-fat yogurt as a starter. I look for yogurt with as few ingredients as possible – milk, and bacteria! No thickening agents. Trust me on this one. You only need four tablespoons of the stuff, so buy a little cup of the good stuff, eat half of it, and make yogurt with the rest! You can reserve a few spoons of each batch of yogurt as a starter for the next batch, or even freeze some of your yogurt in an ice cube tray for use in future batches.
So try it out and see how easy it can be!
The Holy Grail of Yogurt (or yoghurt if you want to be British about it)

Ingredients
- 8 cups (roughly 2 litres) whole milk
- 4 tablespoons (60 ml) good quality, active culture yogurt
Instructions
- Thoroughly clean enough of the same size jar to fit 8 cups/2 quarts/2 liters of your beautiful yogurt. In the photos I used pint mason jars with reusable plastic lids, but in practice I have found using two quart size mason jars more convenient.
- Heat milk to 180°F/82°C over medium heat, stirring frequently to keep the bottom from scorching.
- Remove milk from the heat and let it cool to 110°F/43°C. In my cast iron pot this takes about 30 minutes.
- Stir in yogurt and mix well.
- In the sink and maybe even using a canning funnel, ladle the milk mixture into the jars.
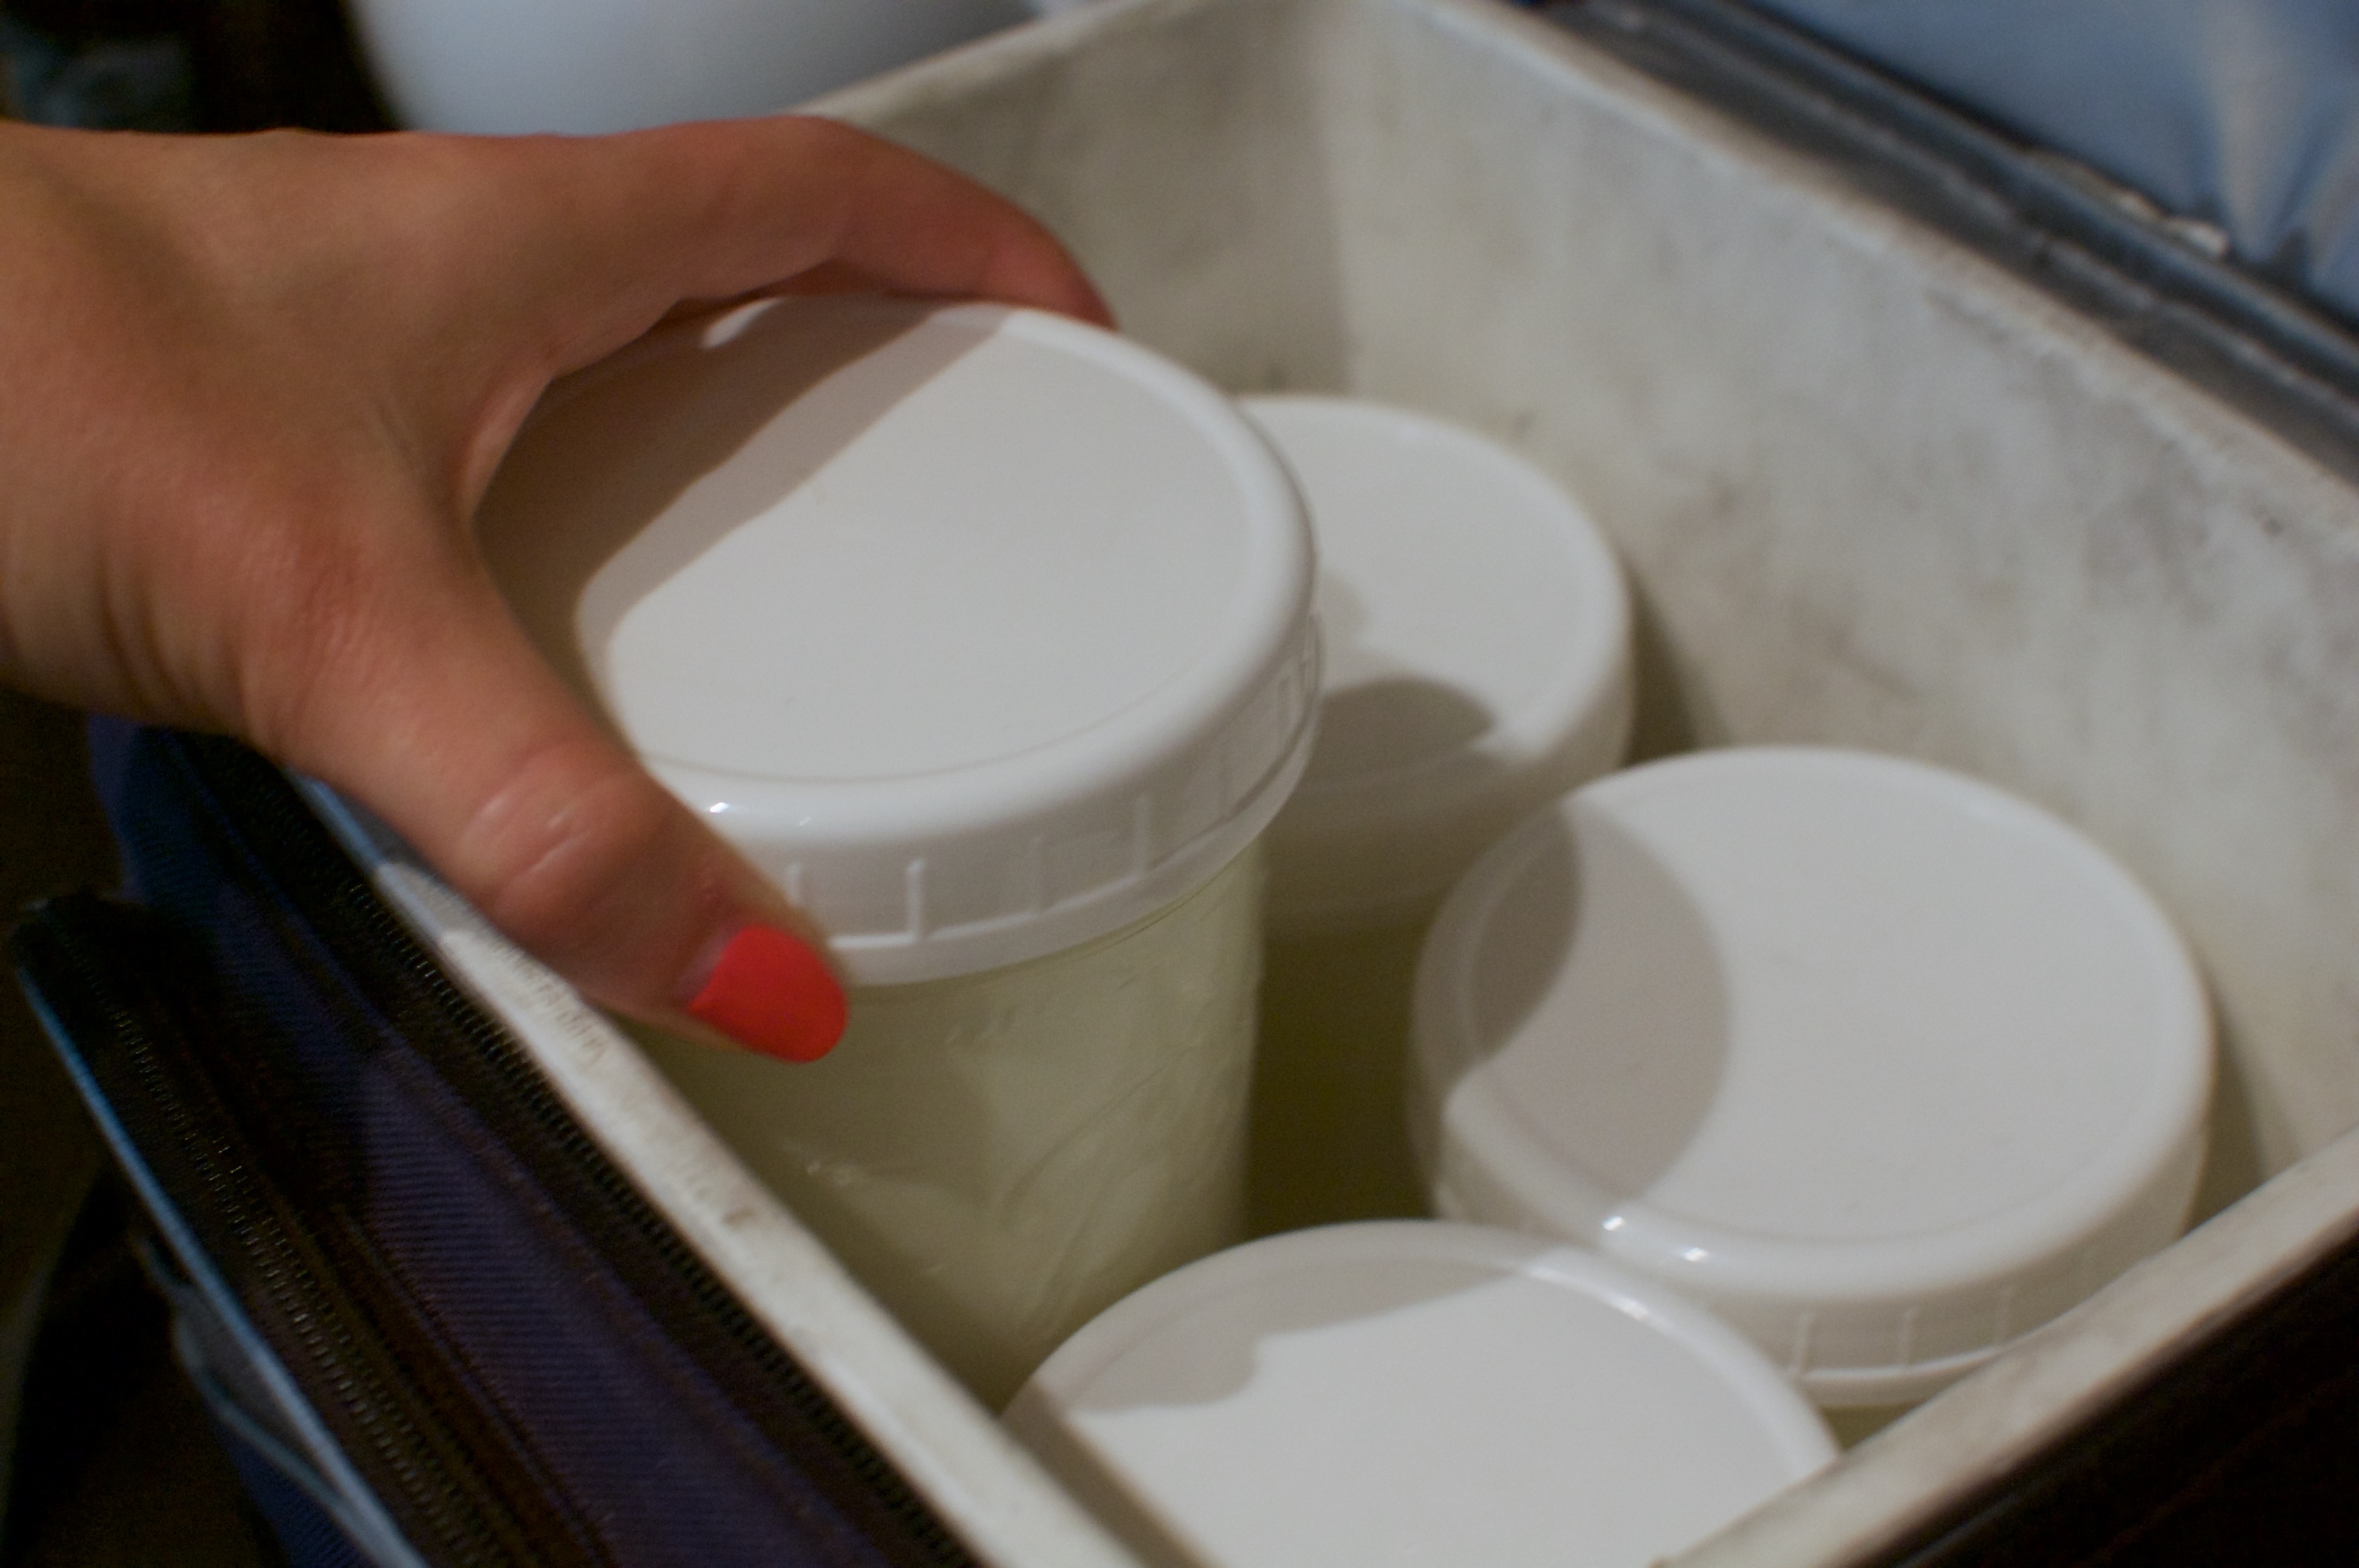
- Cover jars well and place in a small cooler, then fill the cooler up to just under the lids of the jars with hot tap water (about 120°F/49°C). Then close the cooler.
- Place the cooler in a safe, dry place for six hours.
- Remove the jars of yogurt from the water-filled cooler, and stir the yogurt before placing the jars in the fridge.
- optional If you want Greek-style yogurt, pour the yogurt into a cheesecloth-lined mesh strainer that has been placed over a bowl. Let it drain for up to two hours. The resulting whey is quite tart and can be used in baking and smoothies.
I use almost exactly the same method, except I wisk in a packet of dry, nonfat milk powder when I take the milk off the heat. The additional protein makes the yogurt come out thicker without having to strain it.
Oh genius, Ted! Thanks for the tip!